Hong Kong Coconut Tarts: The Underrated Bakery Classic You Need to Try
These Hong Kong-style coconut tarts are buttery, tender, and packed with rich coconut flavor in every bite. As a bonus, they taste even better the very next day!

What Are Hong Kong Style Coconut Tarts
Ok, let’s be real for a second: Hong Kong egg tarts get all the attention.
They’re touted as one of the most famous baked goods coming out of Hong Kong, and everywhere you look, you’ll see them being advertised. Just go watch any YouTube video titled something like “must try eats in Hong Kong” or “best foods to try in Hong Kong” and you’ll no doubt see Hong Kong egg tarts being mentioned.
Now, don’t get me wrong. I love HK-style egg tarts, but I think there’s also another tart that is highly underrated and doesn’t get nearly the amount of attention that it deserves, and that’s the Hong Kong-style coconut tart (椰 撻).
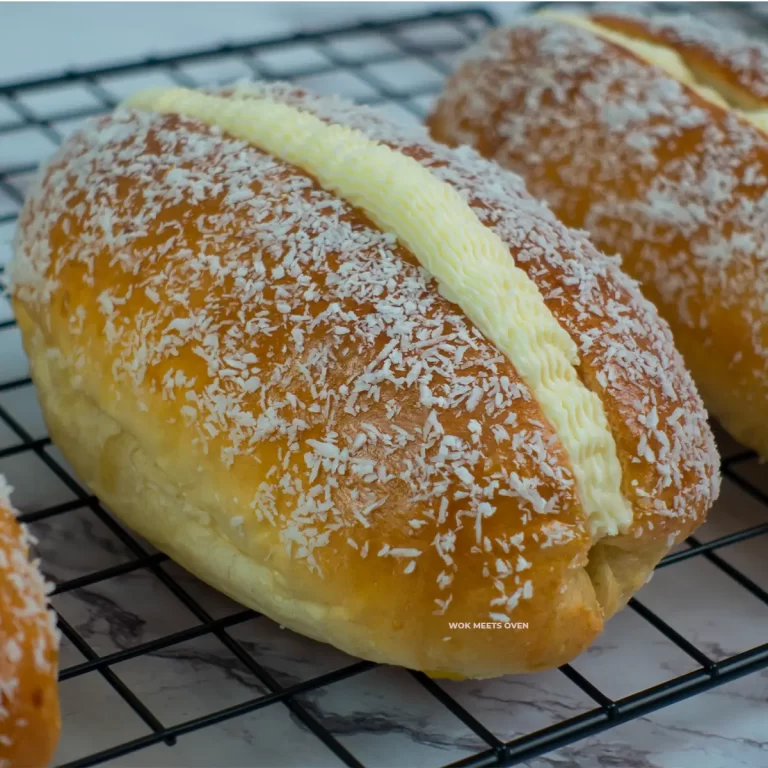
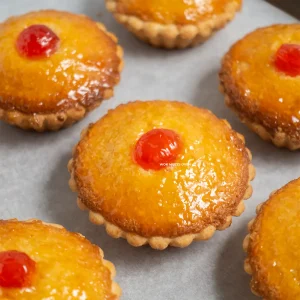
If you’ve ever visited a Hong Kong bakery or diner(cha chaan teng), you’ve probably seen these golden yellow tarts with a small red cherry on top sitting in the display case alongside egg tarts, pineapple buns, and cocktail buns.
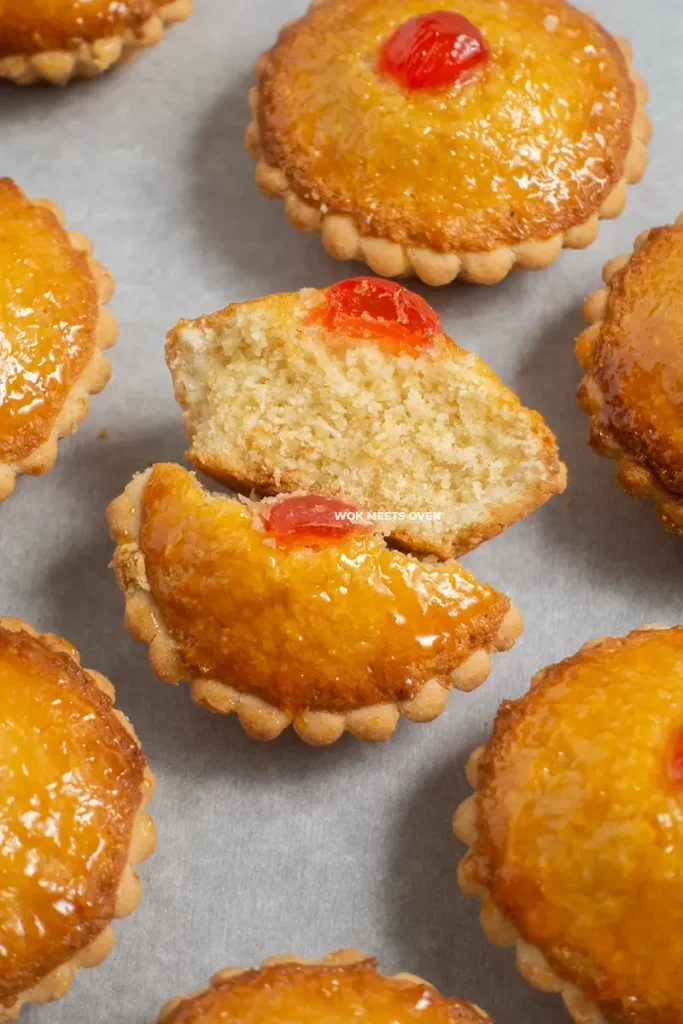
At first glance, they look very similar to Chinese egg tarts with the glistening, shiny yellow color and that flaky, buttery crust, but once you take a bite into them, it’s a completely different story.
Hong Kong coconut tarts are filled with a soft and moist coconut filling loaded with coconut flakes, milk, butter, and custard flavor. The filling has a tender, chewy texture to it, perfectly complementing the buttery, flaky crust.
There’s a reason why Chinese bakery shops still sell these HK-style coconut tarts to this day, but now I’m going to teach you how to make Hong Kong coconut tarts at home.
This Hong Kong-style coconut tart recipe is straightforward and simple but doesn’t skimp on the flavor and texture. If you love coconut tarts, then you’re going to love this Hong Kong coconut tart recipe.
Ingredient Notes
Desiccated coconut flakes: The star of the show. It absorbs the moisture from the other ingredients and gives a nice coconut crunch after baking. Make sure to use desiccated coconut flakes and not shredded coconut or anything else. They are different!
Milk powder: Adds additional milk flavor to the filling.
Cake flour: Adds a soft-cake like texture to both the crust and filling.
Bread flour: Adds a little crunch to the filling.
Evaporated milk: Adds richness and moisture to the filling, helping to bind the coconut flakes.
Custard powder: Gives the coconut filling a nice beautiful yellow color and adds a subtle custard flavor to it.
How to Make Hong Kong Style Coconut Tarts
Filling:
- In a large mixing bowl, add in your sugar, cake flour, bread flour, custard powder, egg, room temperature butter, baking powder, regular milk, and evaporated milk.
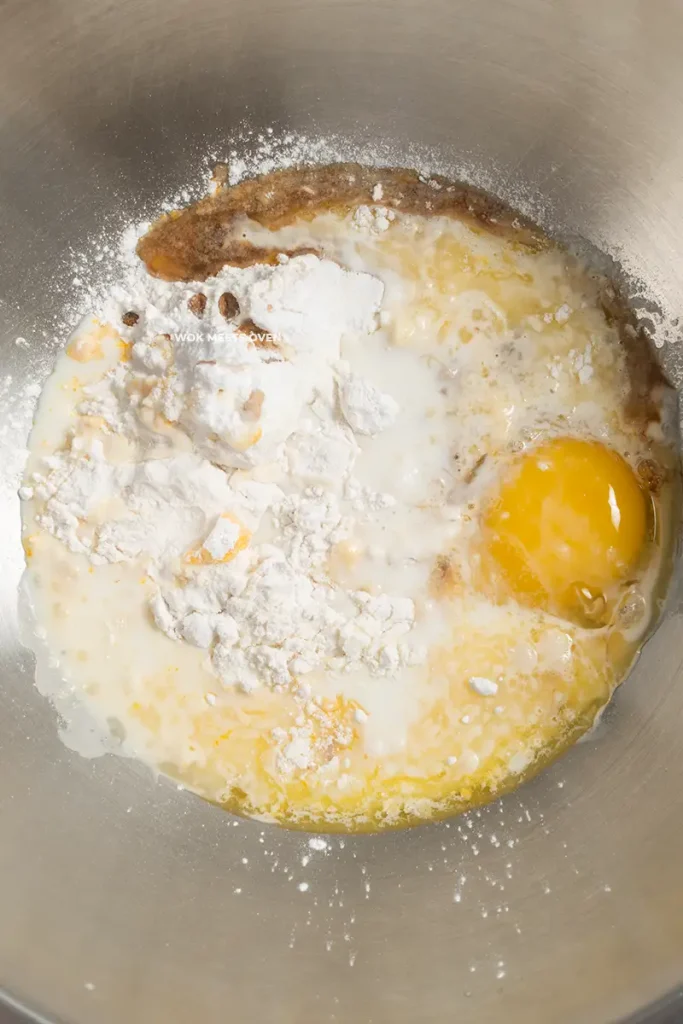
- Mix everything well together.
- Add in desiccated coconut flakes.
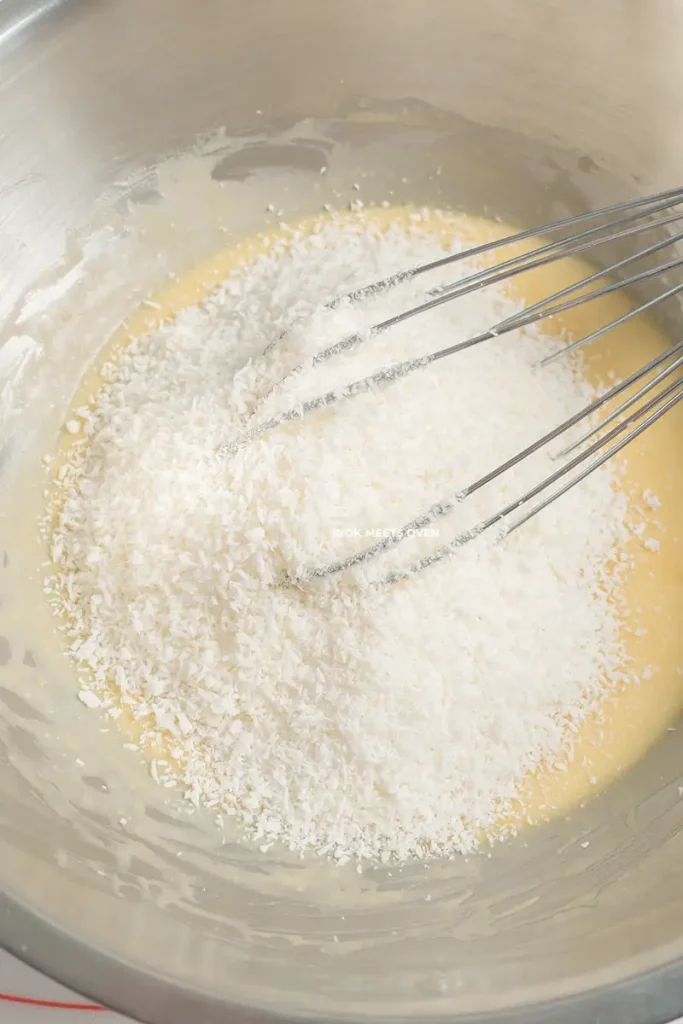
- Mix everything well together.
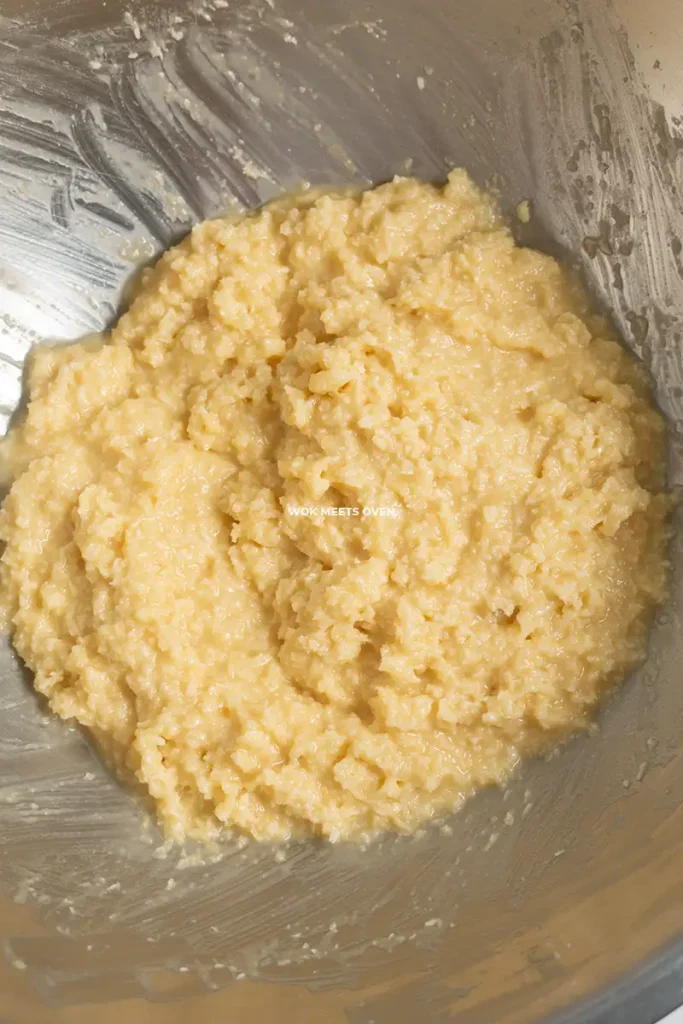
- Cover the filling and put it in the fridge, preferably overnight, but a minimum of 2-4 hours (it will taste better the longer it is left in the fridge!).
Crust:
- Sift your cake flour to your countertop.

- Make a hole in the middle.
- Add in your room temperature butter, sugar, milk powder, and egg.
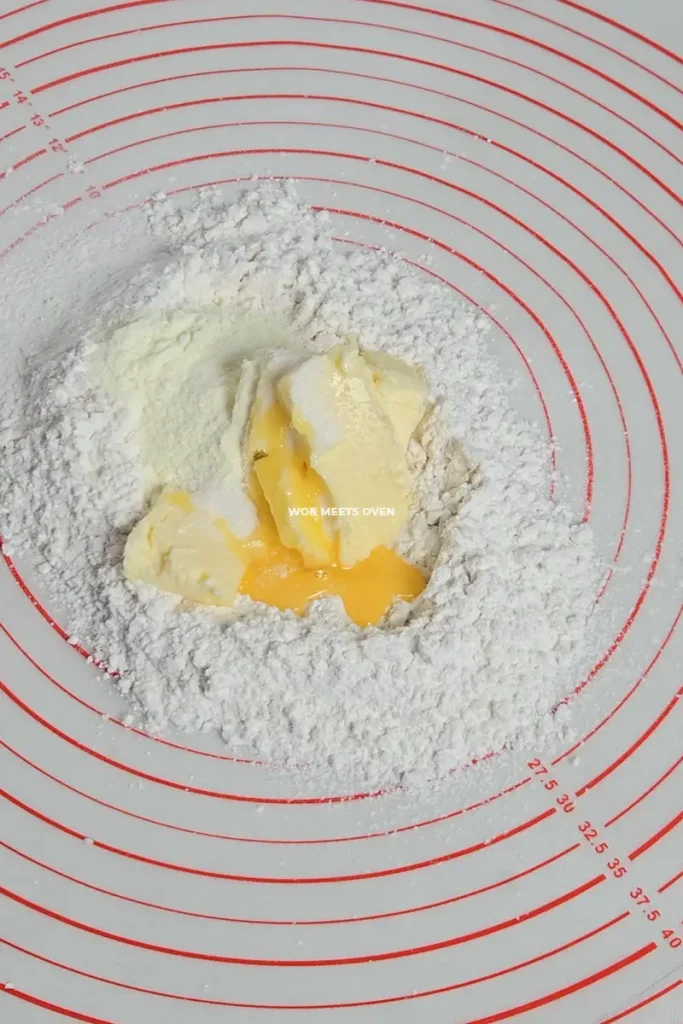
- Mix everything together and push the flour towards the center while kneading the dough.
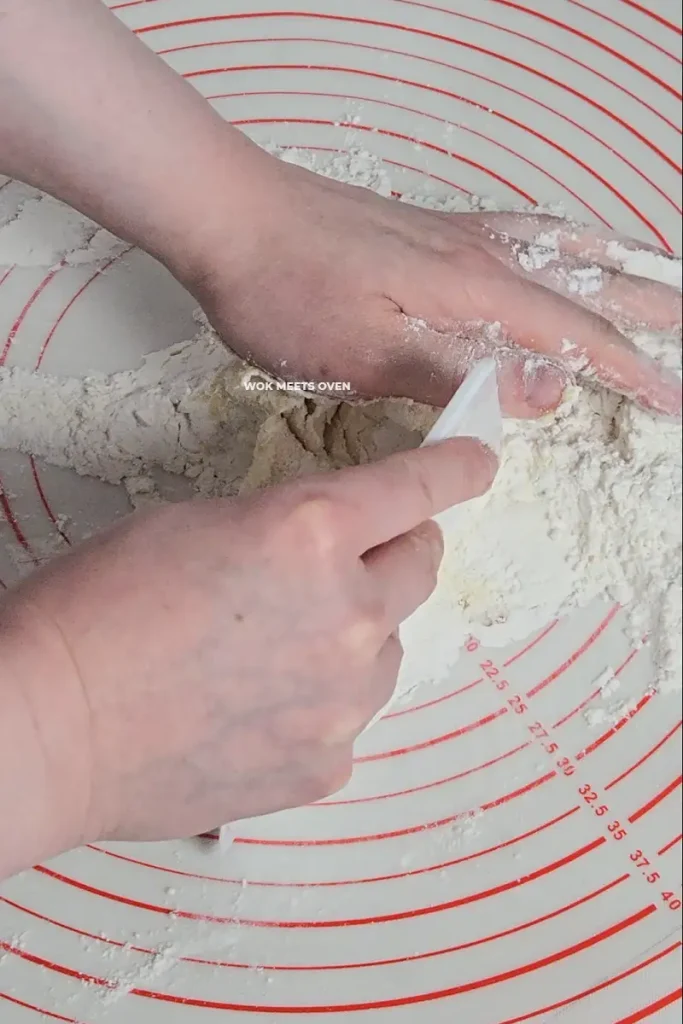
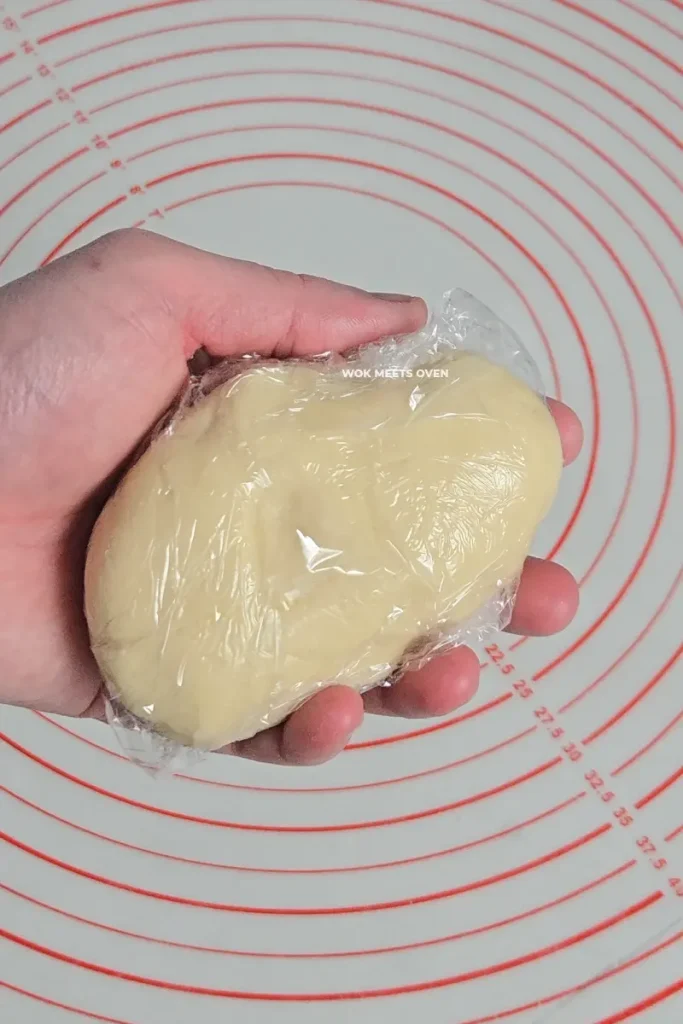
- Knead the dough until it’s smooth and there are no more white flour spots, but don’t go overboard. It should take you no more than 1-2 minutes.
- Then cover the dough and put it in the fridge to cool down for at least 1 hour.
Assembly:
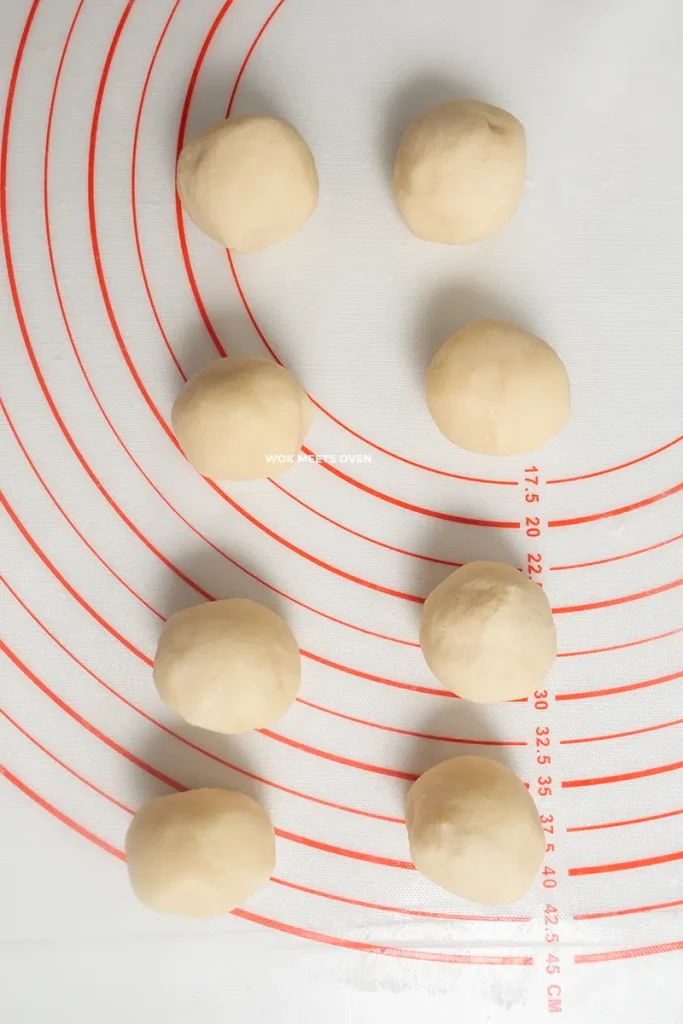
- Take the dough out of fridge and weigh it.
- sprinkle in some flour on top and roll it out into a log and divide the dough into 8 equal pieces.
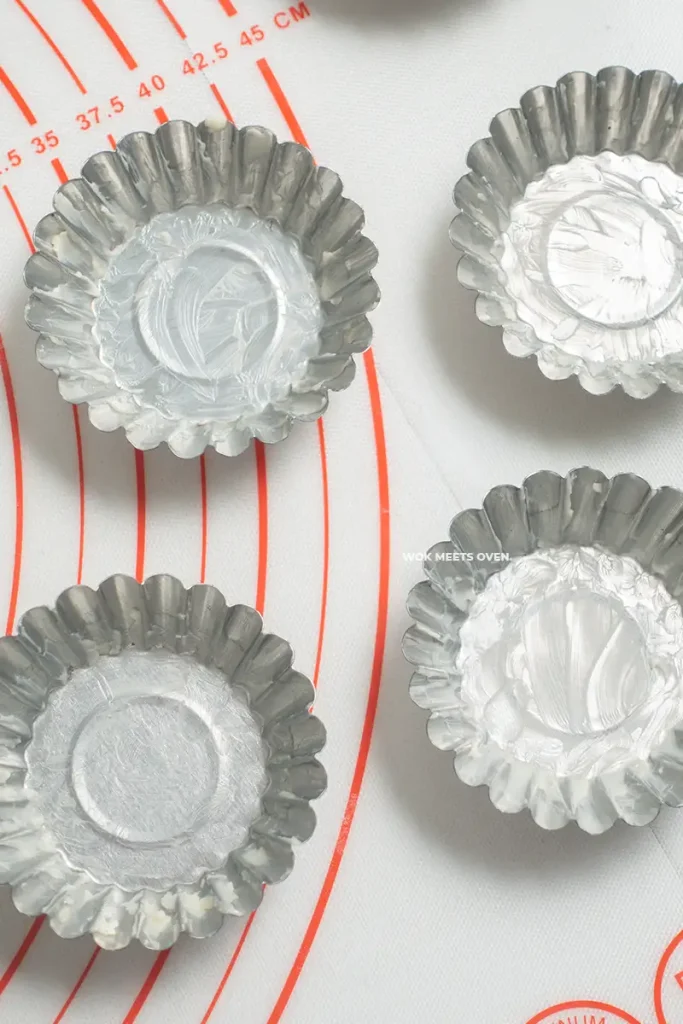
- Next, grease your egg tart molds with some butter.
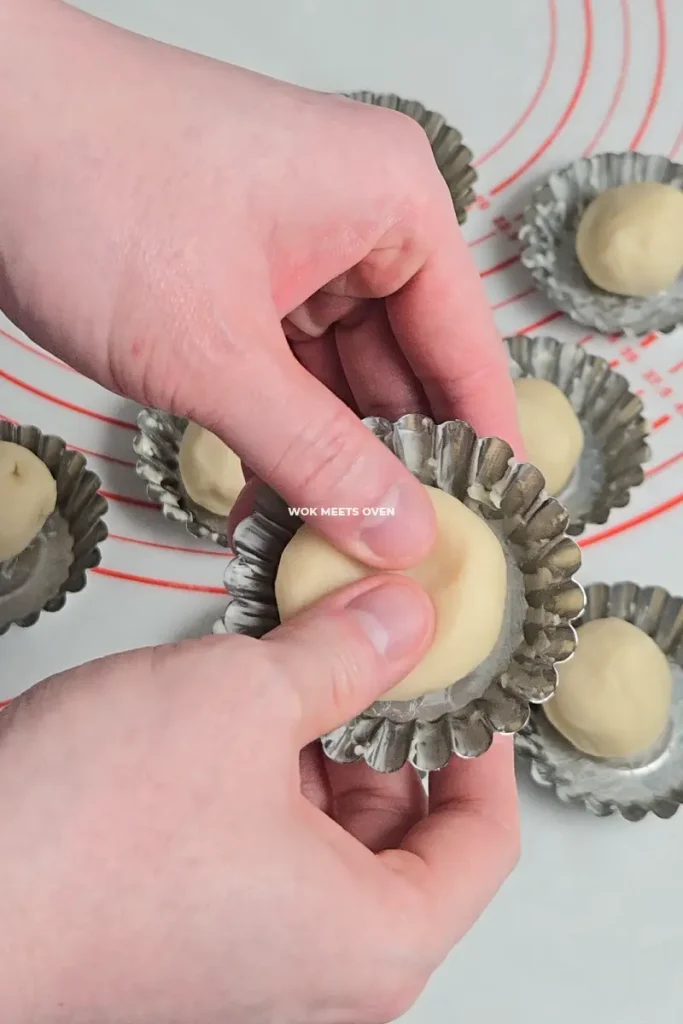
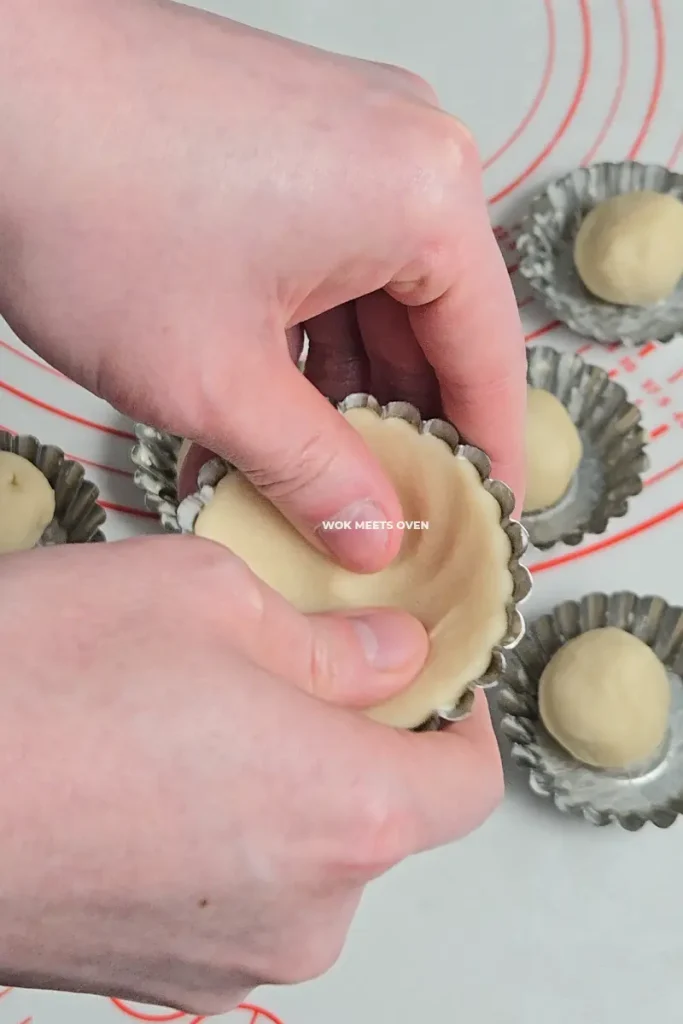
- Place each piece of dough onto the molds and slowly press down onto the dough with your thumb while rotating the mold and pressing down onto the sides of the dough with your other thumb to spread the dough out and upwards. The dough should cover all sections of the mold.

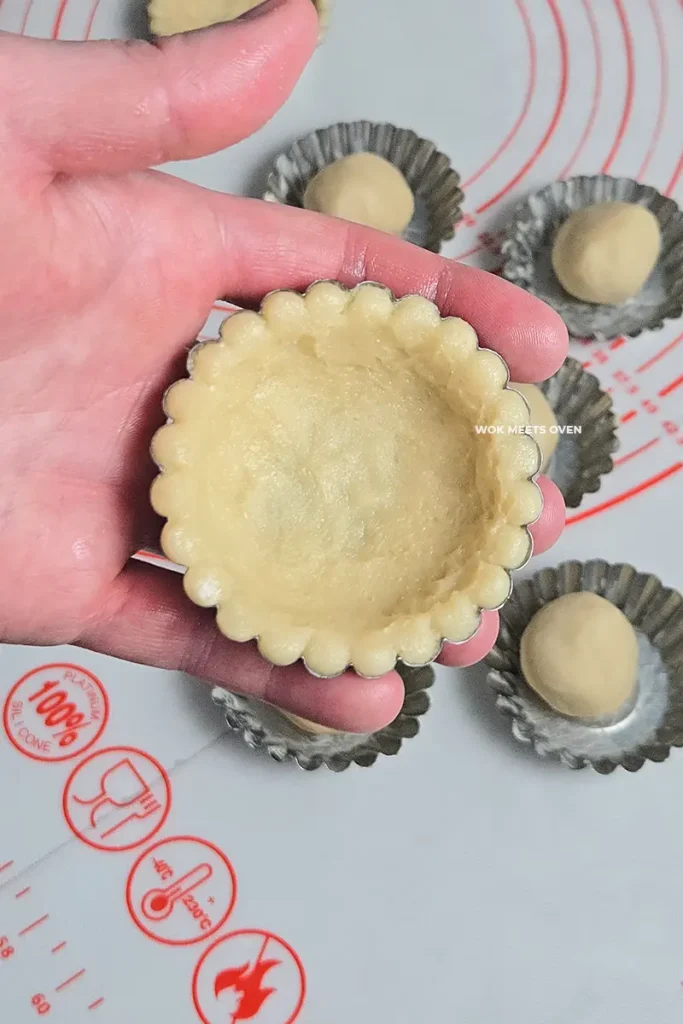
- Then, place the crusts into the fridge to cool down for at least an hour.
- After an hour take both the crusts and filling out of the fridge.
- Give the filling a quick mix then scoop a large spoonful onto the tart crust.
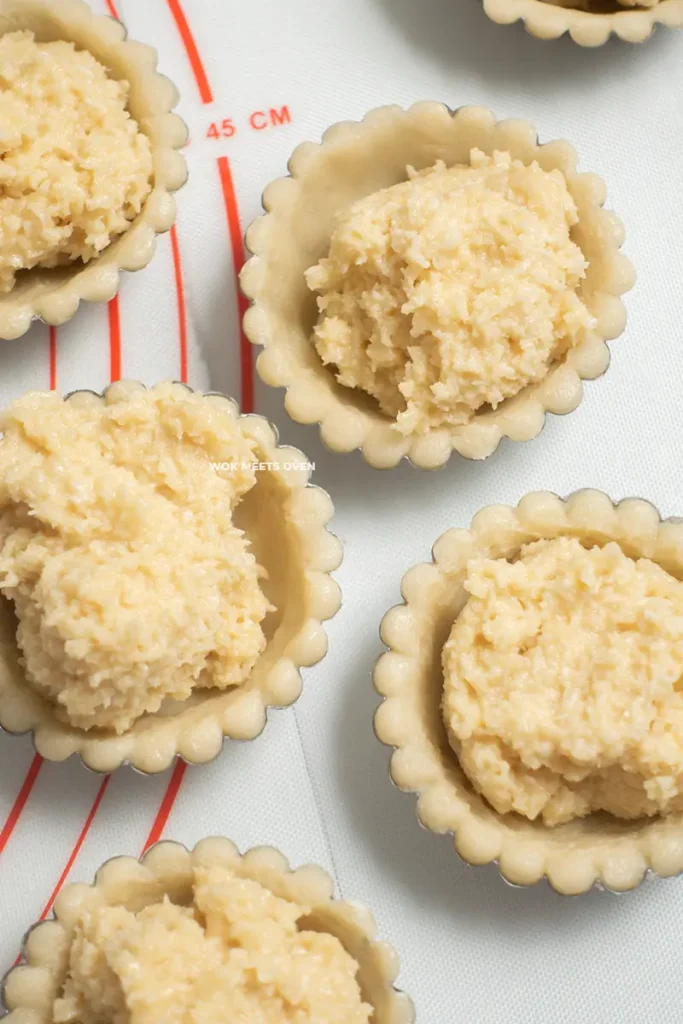
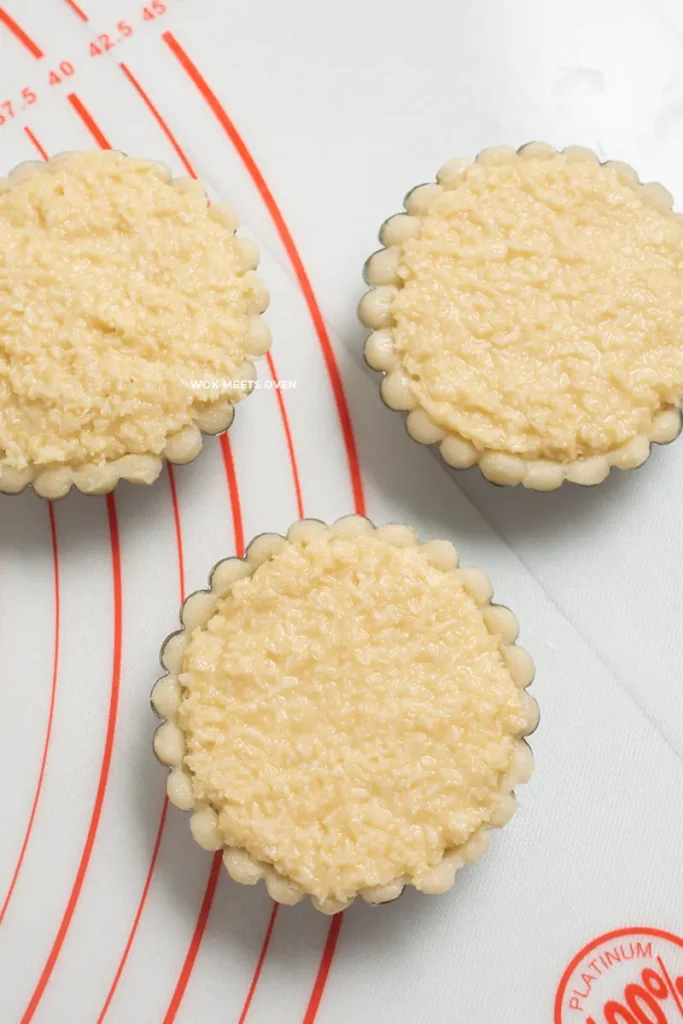
- Flatten the top of the tart. It should be just slightly above the tart crust. Do not overfill!
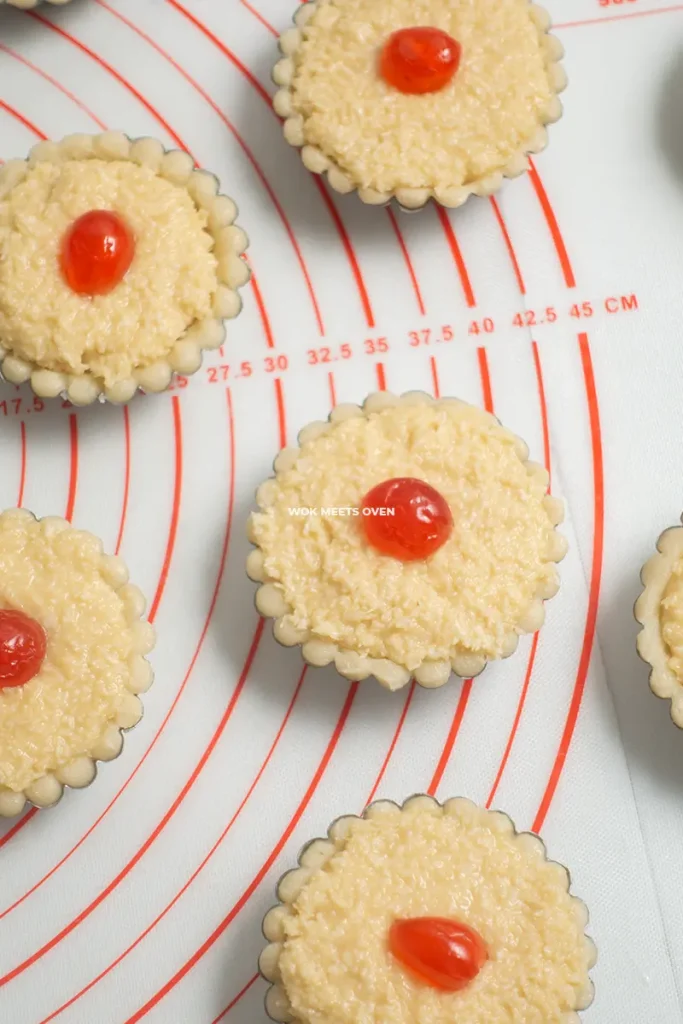
- Take a candied cherry and cut it in half and then place it on top of the tart.
- Bake in a pre-heated oven at 375°F for about 24-25 minutes.
Making the glaze:
- While the coconut tarts are baking, add some water onto a sauce pan and bring it to a boil.
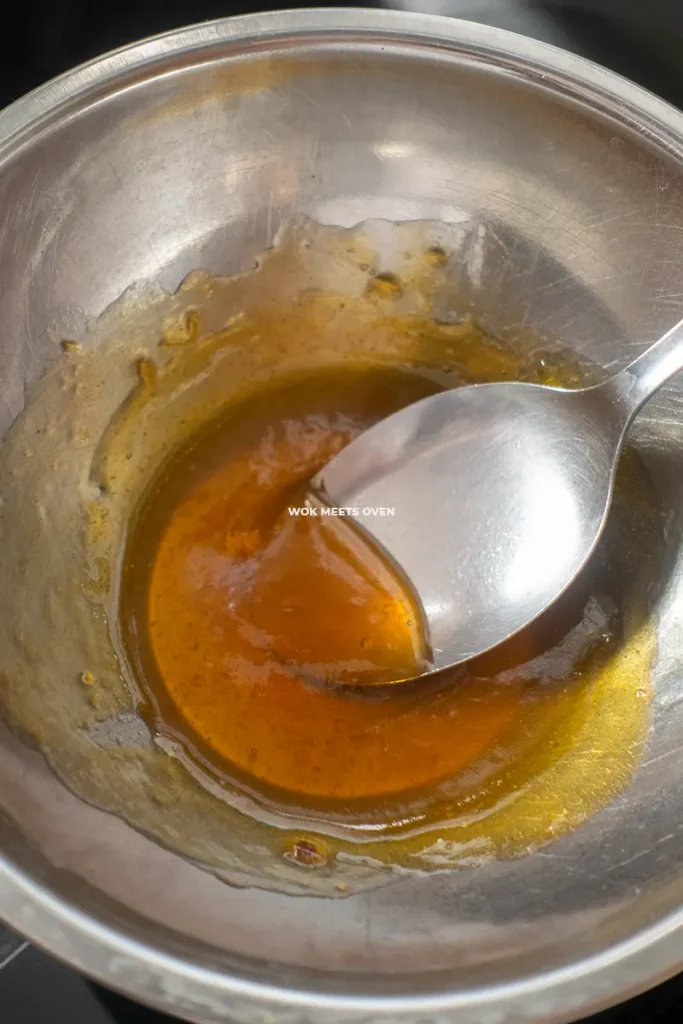
- Then place a metal bowl on top of the sauce pan and add in some jam.
- Heat up the jam on medium heat while stirring the bowl until it turns into a liquid.
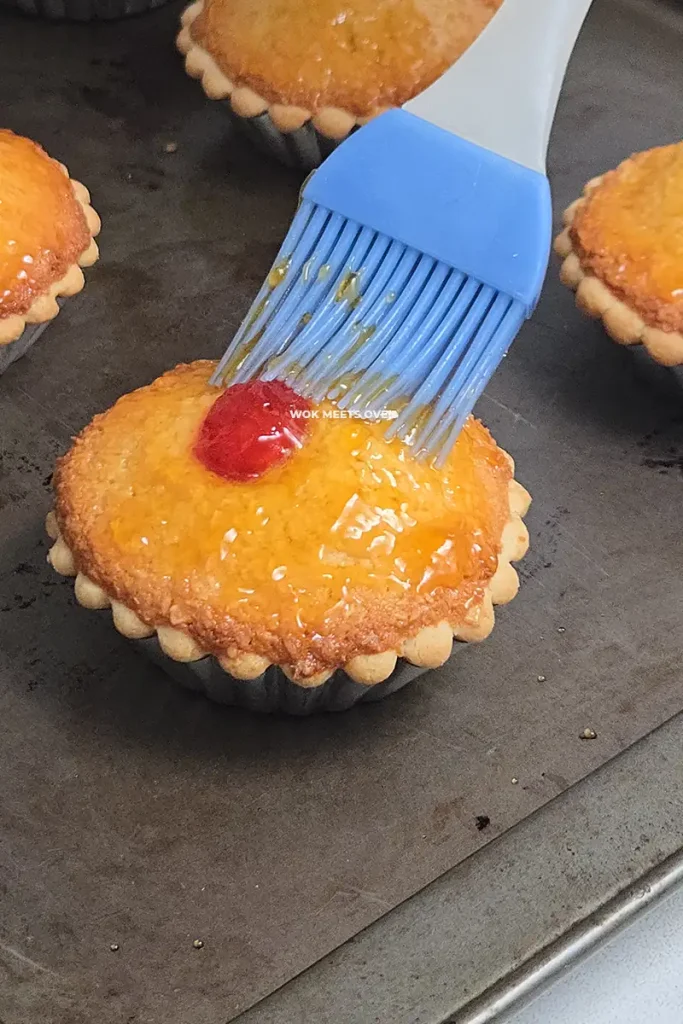
- Once done baking, apply the jam on top of the coconut tarts.
- Let the coconut tarts cool down for about 5-10 minutes then remove them from the tart mold and serve.

A Few Helpful Tips
Common Mistakes Beginners Make
- Not allowing the filling time to thicken up and the desiccated coconut flakes to absorb the moisture from the other ingredients. This causes it to be a bit runny.
- Not greasing your tart molds. This makes the tarts stick to the tart molds after baking, making it difficult to remove the tarts.
- Not sieving your flour. This causes lumps in the dough and filling.
- Over kneading the dough. This makes the crust tough. You should only knead it until there are no more flour spots then stop!
Storage Tips
The coconut tarts can be stored in an airtight container at room temperature for up to 3 days or 7 days in the fridge.
Other Related Recipes
If you’re a fan of tart recipes, then also check out my Hong Kong-style egg tart recipe as well. For something more savory, you might also like to check out my Chinese baked BBQ pork buns (Char Siu Bao) recipe.
Frequently Asked Questions (FAQs)
Can I Substitute the Bread Flour or Cake Flour With All-Purpose Flour?
Please make a trip to the grocery store if you don’t have cake or bread flour.
I Don’t Have Any Evaporated Milk at Home. Can I Just Use Regular Milk?
A problem easily solved by a trip to the grocery store.
Can I Use Fresh Coconuts Instead of Desiccated Coconuts?
No!
Can I Use Sweetened Desiccated Coconut Flakes?
If you use sweetened desiccated coconut flakes, the coconut tarts will come out too sweet. I suggest sticking with unsweetened desiccated coconut flakes or reducing the amount of sugar in the filling.
What Size Tart Molds Did You Use?
The tart molds used in this recipe were about 7cm in diameter. If you would like to purchase the same tart molds used in this recipe, please visit my equipment & tools page.
I Don’t Have Any Milk Powder at Home. What Can I Substitute It With?
Just leave it out then. If you can’t find milk powder being sold at stores, I know Walmart sells it as well as Amazon. I’ve also seen them being sold at several local grocery store chains in my area as well.
I Don’t Have Any Custard Powder at Home, What Can I Substitute It With?
Just leave it out then. Just note that your coconut tarts won’t be as yellow as mine, and they will lack that bit of custard flavor in the filling.
Can I Use Salted Butter Instead of Unsalted Butter?
No!
Can I Make the Coconut Filling Ahead of Time?
Yes! In fact, that is the preferred method as it gives time for the desiccated coconut flakes to absorb the moisture and flavor from the rest of the ingredients, yielding a much tastier filling!
Hong Kong Coconut Tarts: The Underrated Bakery Classic You Need to Try
Equipment
- 1 Sauce pan
- 8 Tart molds
Ingredients
Filling
- 5 g Custard powder
- 5 g Milk powder
- 95 g White granulated sugar
- 1 whole Large egg
- 21 g Cake flour
- 21 g Bread flour
- 5 g Baking powder
- 92 g Desiccated coconut flakes
- 1 teaspoon Vanilla extract
- 25 g Melted unsalted butter
- 30 ml 2% milk Can sub with whole milk or 1%
- 50 ml Evaporated milk
Crust
- 15 g Milk powder
- 15 g White sugar
- 85 g Unsalted butter Room temperature
- 7.5 g Egg approximately 1.5 teaspoons
- 100 g Cake flour
Topping
- 4 pieces Candied cherry
Glaze
- 1 Tablespoon Apricot jam
Instructions
Filling
- In a large mixing bowl, add in your sugar, cake flour, bread flour, custard powder, egg, room temperature butter, baking powder, regular milk, and evaporated milk.
- Mix everything well together.
- Add in desiccated coconut flakes.
- Mix everything well together.
- Cover the filling and put it in the fridge, preferably overnight, but a minimum of 2-4 hours (it will taste better the longer it is left in the fridge!).
Crust
- Sift your cake flour to your countertop.
- Make a hole in the middle.
- Add in your room temperature butter, sugar, milk powder, and egg.
- Mix everything together and push the flour towards the center while kneading the dough.
- Knead the dough until it’s smooth and there are no more white flour spots, but don’t go overboard. It should take you no more than 1-2 minutes.
- Then cover the dough and put it in the fridge to cool down for at least 1 hour.
Assembly
- Take the dough out of the fridge and weigh it.
- Sprinkle some flour on top, roll it out into a log, and divide the dough into 8 equal pieces.
- Next, grease your egg tart molds with some butter.
- Place each piece of dough onto the molds and slowly press down onto the dough with your thumb while rotating the mold and pressing down onto the sides of the dough with your other thumb to spread the dough out and upwards. The dough should cover all sections of the mold.
- Then, place the crusts into the fridge to cool down for at least an hour.
- After an hour, take both the crusts and filling out of the fridge.
- Give the filling a quick mix, then scoop a large spoonful onto the tart crust.
- Flatten the top of the tart. It should be just slightly above the tart crust. Do not overfill!
- Take a candied cherry and cut it in half and then place it on top of the tart.
- Bake in a pre-heated oven at 375°F for about 24-25 minutes.
Making the glaze
- While the coconut tarts are baking, add some water to a saucepan and bring it to a boil.
- Then place a metal bowl on top of the sauce pan and add in some jam.
- Heat up the jam on medium heat while stirring the bowl until it turns into a liquid.
- Once done baking, apply the jam on top of the coconut tarts.
- Let the coconut tarts cool down for about 5-10 minutes then remove them from the tart mold and serve.