Creamy Milo Coconut Jelly
This Milo coconut jelly dessert is rich & smooth, chocolatey and malty, making them a great refreshing dessert to enjoy on a hot summer day. This recipe is super easy to make with only a few simple ingredients that you probably already have lying around in the house.

What Is Milo Coconut Jelly?
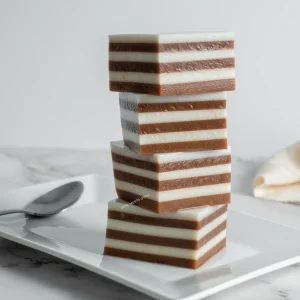
Milo coconut milk pudding is a deliciously creamy chocolate malt coconut jelly dessert that combines the flavor of the ever-popular Milo chocolate cocoa malt beverage mix with the creamy rich coconut flavors of coconut milk.
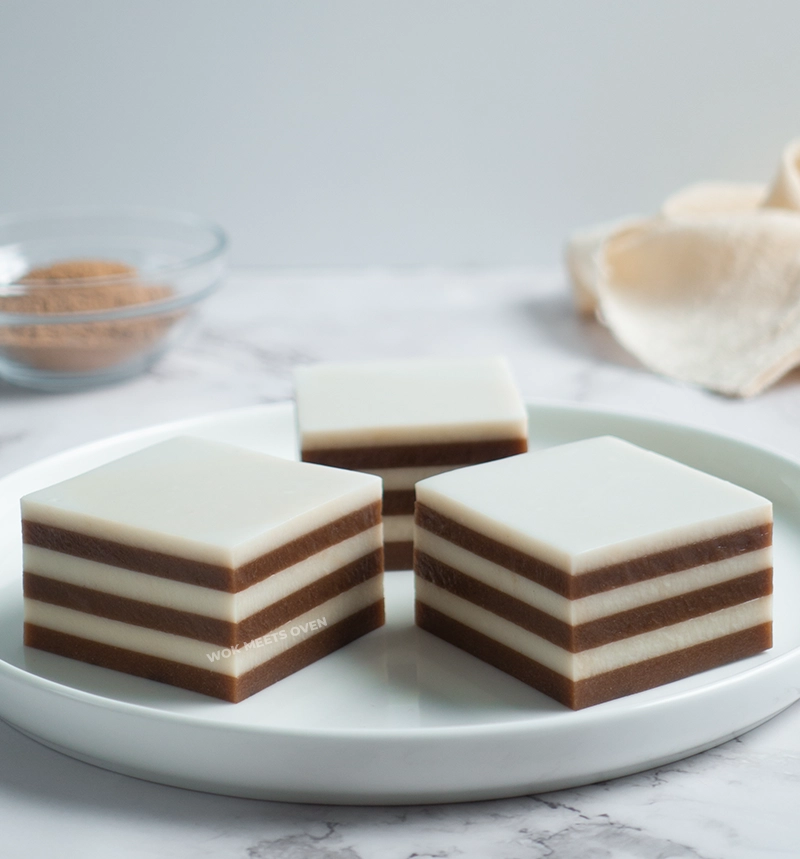
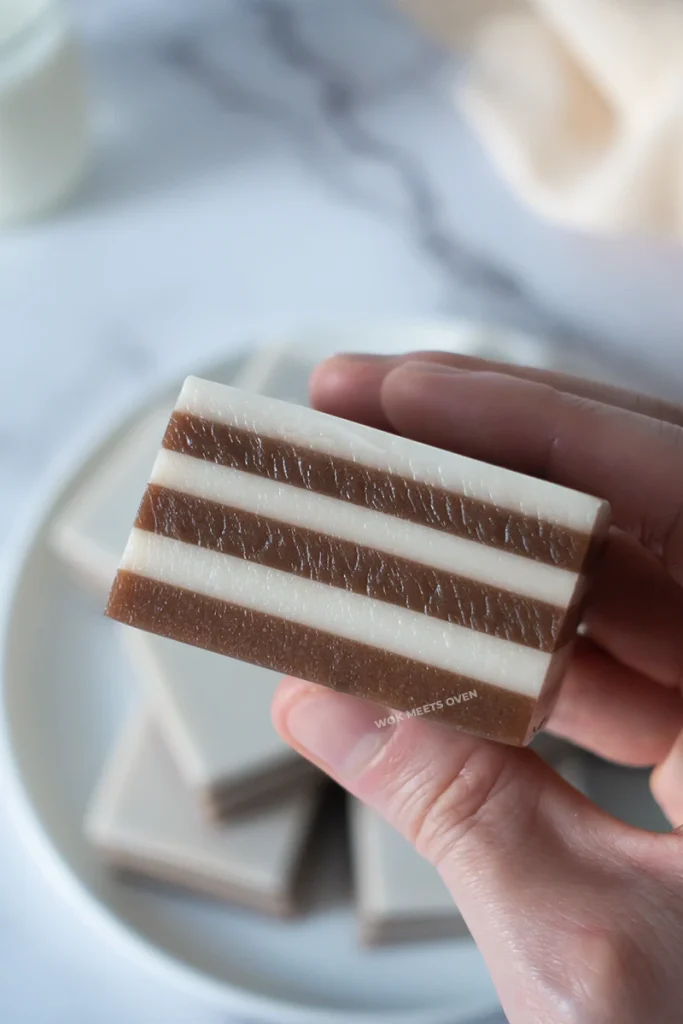
This Milo jelly dessert is not only tasty but also attractive due to the many layers of jelly stacked on top of each other. You’ll often times see this jelly dessert pattern being used in a lot of Vietnamese jelly dessert recipes such as Pandan coconut jelly dessert or coffee coconut jelly dessert. I decided why not incorporate this same pattern design when coming up with this recipe as well.
This easy milo jelly recipe is great for hot summer days, or when you’re looking for a dessert to cool down after a meal.
What is Milo?
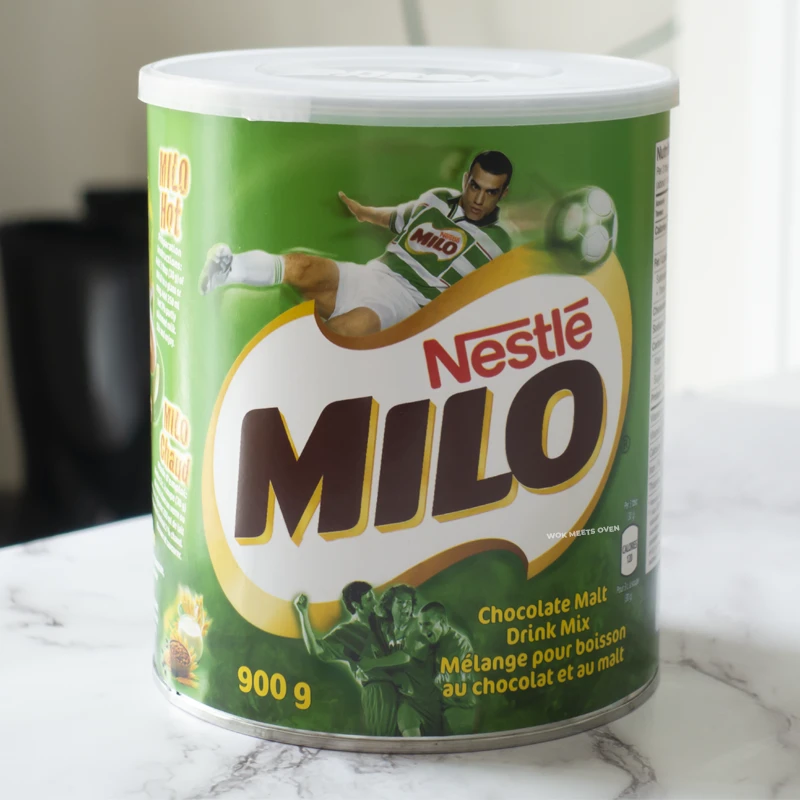
Milo is a popular chocolate-flavored malted beverage mix that is usually mixed with milk or water. Milo usually comes in powdered form and is sold in a large can.
In a way, preparing a milo drink kind of resembles making hot chocolate that comes in powdered form.
The beverage has a sweet chocolately and slightly salty malted flavor.
Ingredients
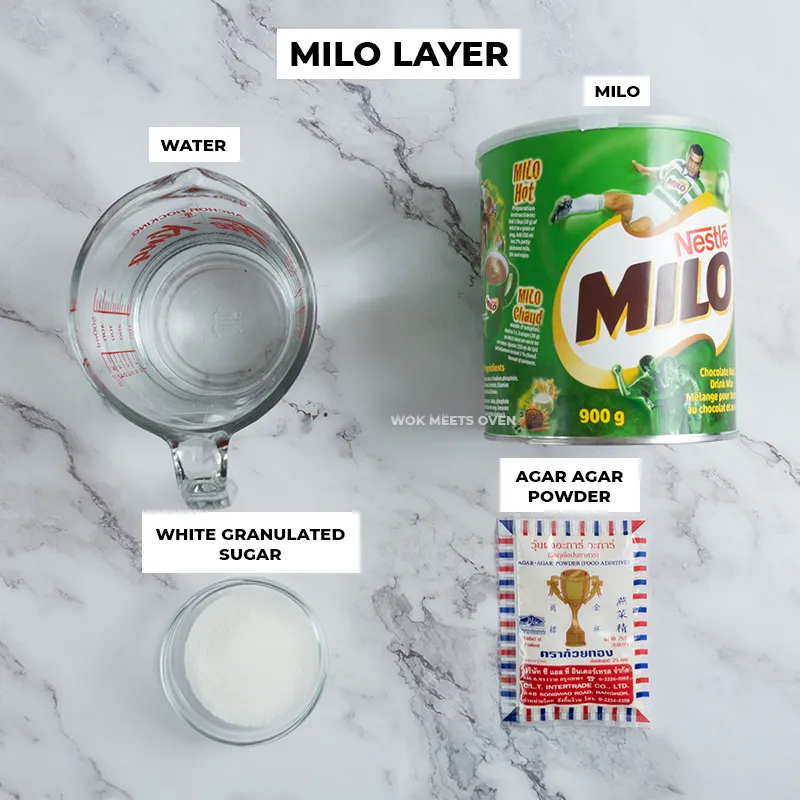
Milo layer:
7g of agar-agar powder
65g of white granulated sugar
80g of Milo powder
700ml of water
Coconut layer:
350ml of water
350ml of coconut milk
55g of white granulated sugar
7g of agar-agar powder
Pinch of table salt (⅛ tsp)
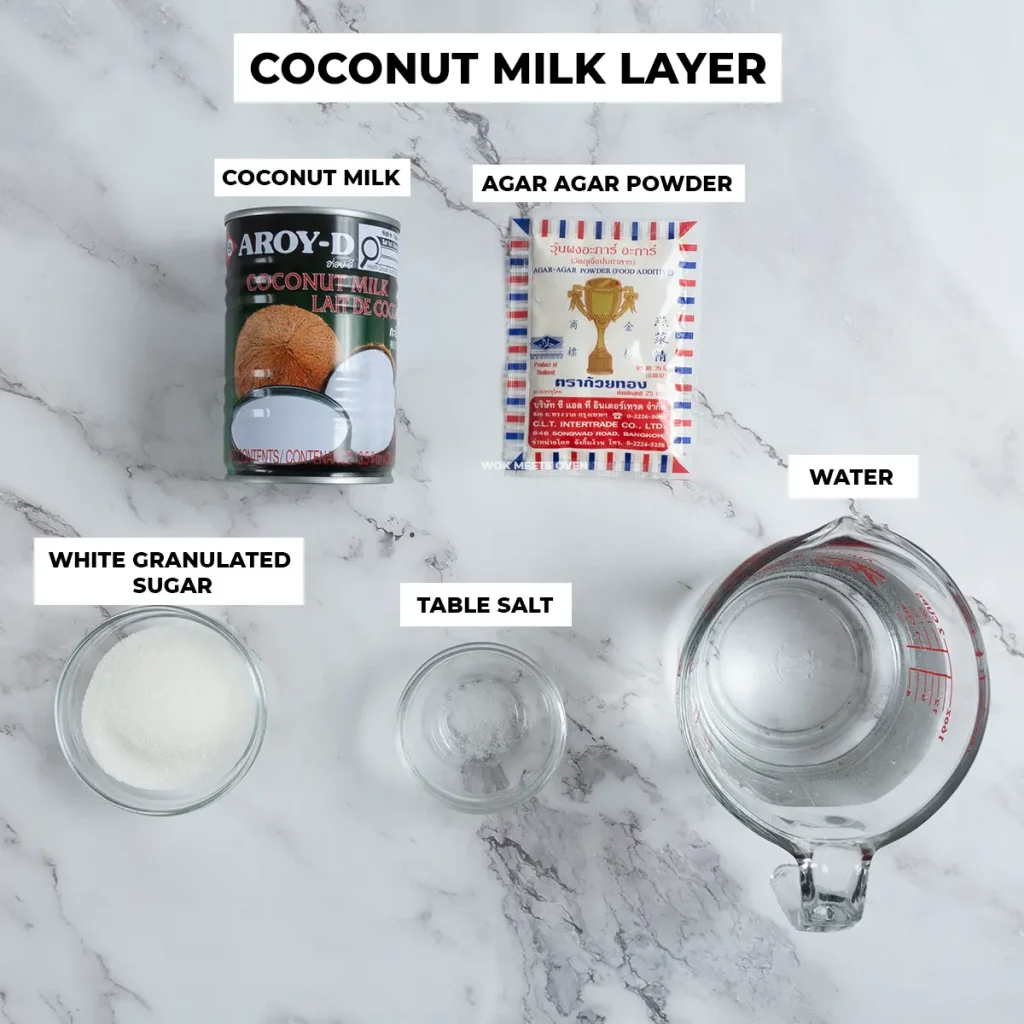
Ingredient Notes
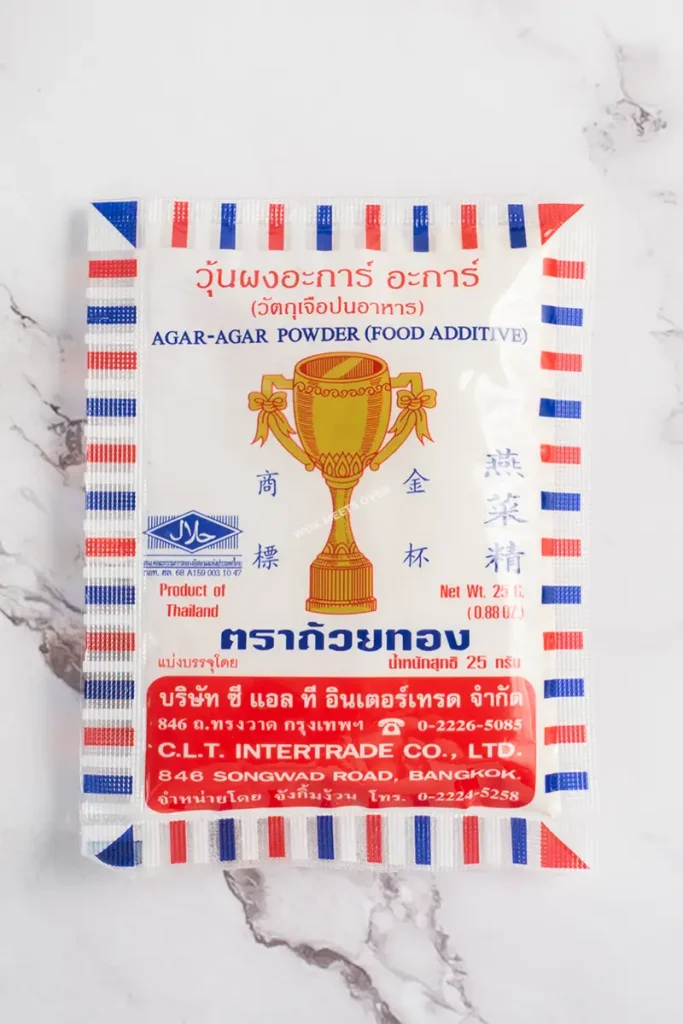
Agar-Agar Powder: Make sure that you’re using agar-agar powder for this recipe and not gelatin as the method of preparation and also water ratio is a little different.
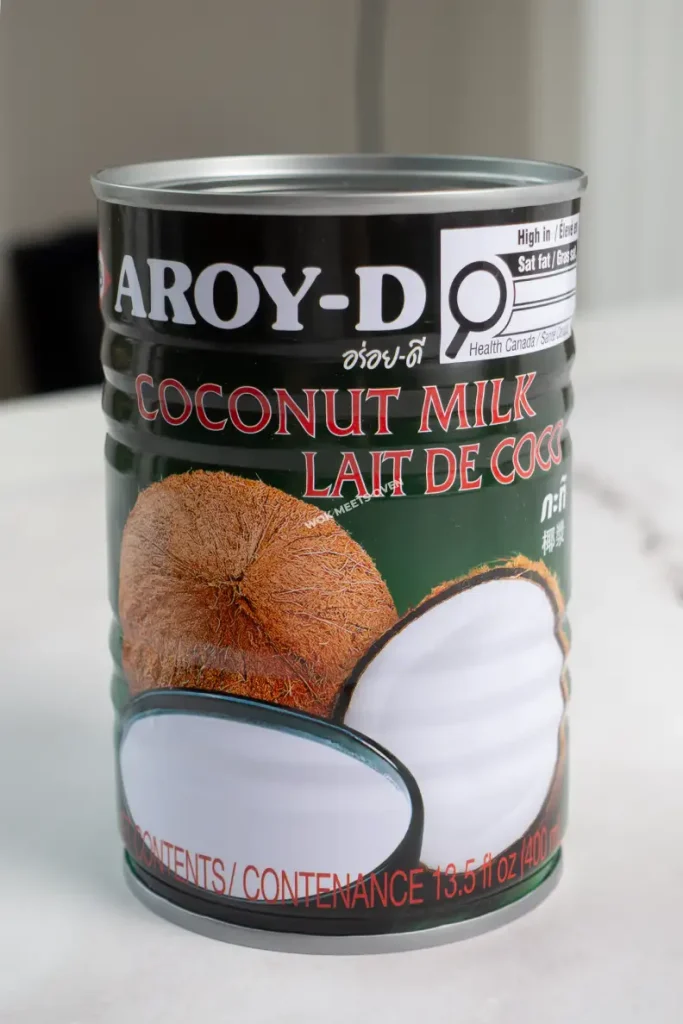
Coconut milk: For the coconut milk you can opt for either full-fat or reduced-fat coconut milk. The full-fat coconut milk will be thicker and more creamier at the expense of more calories while the less fatty coconut milk will be more softer and runnier.
Substitutions and Variations
- Coffee: Instead of using milo powder, coffee also works quite well with this recipe and in fact there is a Vietnamese coffee and coconut version of this jelly dessert (thạch rau câu cà phê) that I may post up sometime in the future.
- Fruits: You can also add in fruits to this jelly dessert if you’d like, however, I’d recommend reserving this for a more milder tasting jelly pudding dessert that just uses agar-agar powder without any additional liquids or a fruit version of this jelly dessert such as lychee jelly or mango jelly. The milo flavor will most likely overpower the taste of the fruit that you add in.
How to Make Milo Coconut Jelly
Here’s how to make coconut milk jelly with milo:
- Start by pouring the agar-agar powder and sugar onto a pot, followed by the water.

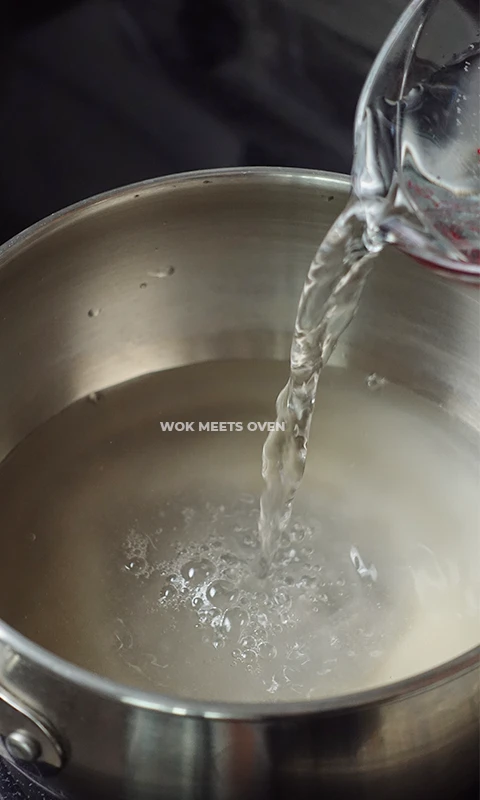
- Now using a whisk, mix the mixture evenly in the pot for about 30 seconds or so.
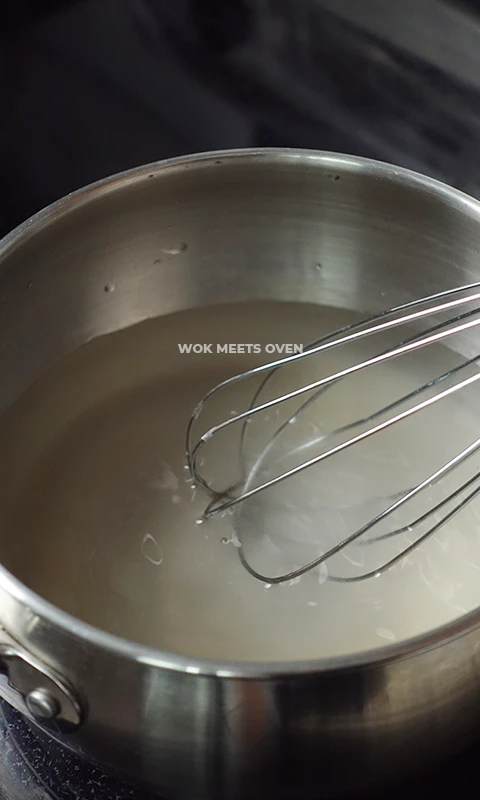
- Let it soak for about 10-15 minutes after whisking it with a whisk.
- In another pot repeat this process by pouring the agar-agar powder, sugar, and table salt, mixing it, and letting it soak in the water. You should have 2 pots in total. One is for the Milo layer and one is for the coconut layer.
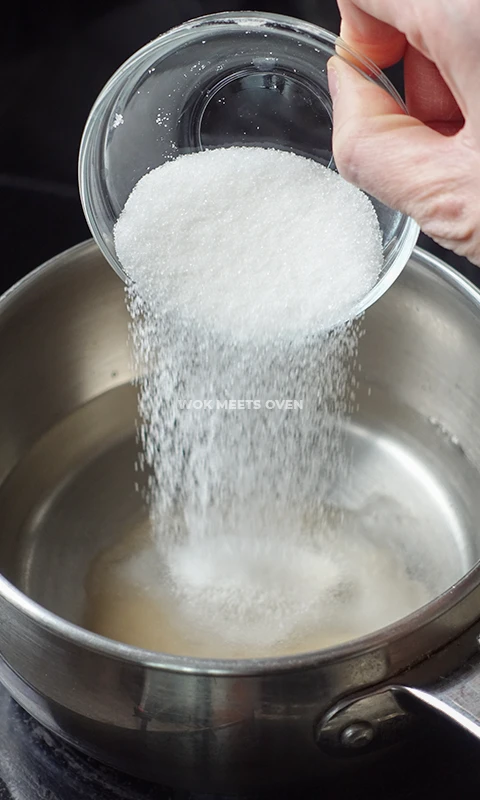
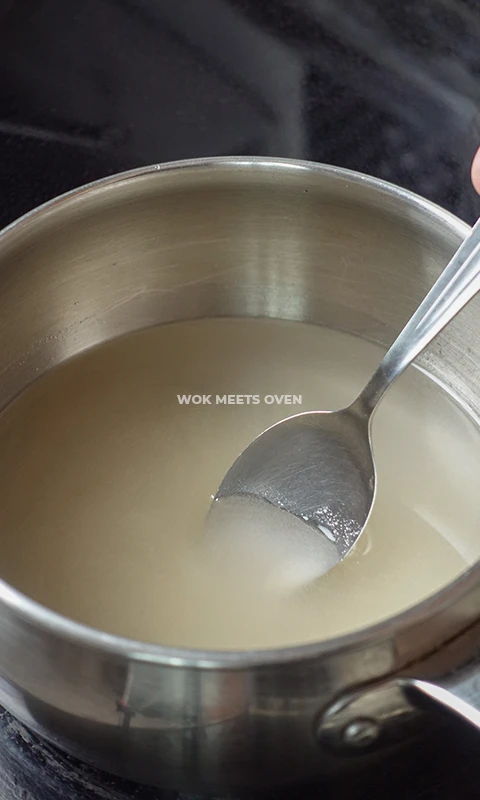
- Now place the first pot on a stove, turn the stove on, and bring it to a boil. Then reduce the temperature to low and add in your Milo powder to the pot.
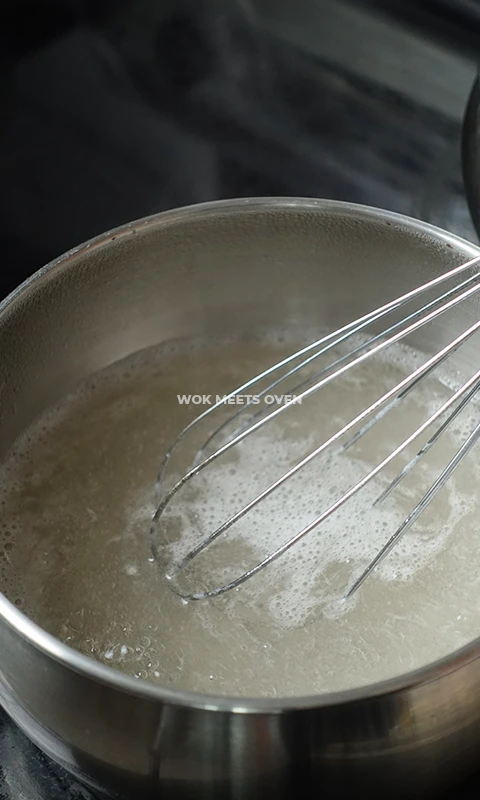
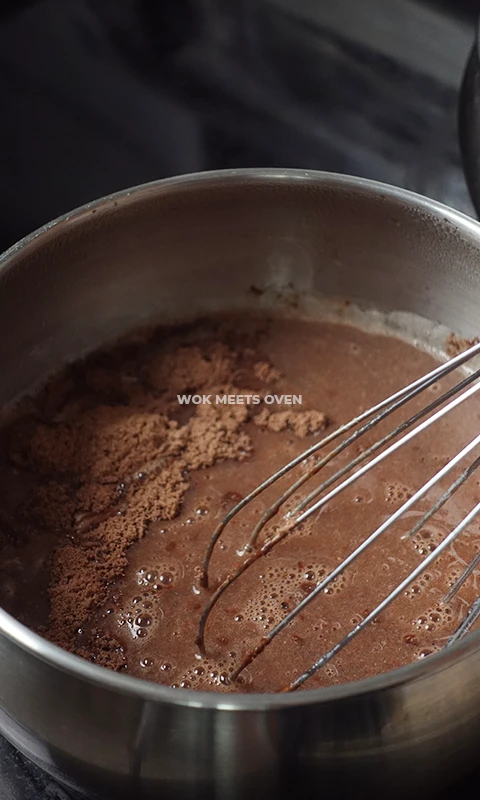
- Whisk the mixture to mix everything up and then let it simmer on low heat.
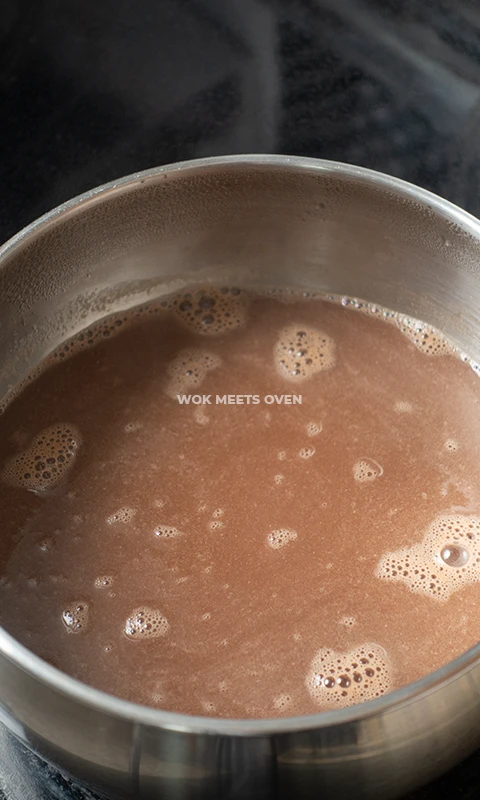
- Now place the second pot on a stove, turn on the stove, and bring the pot to a boil while whisking it.
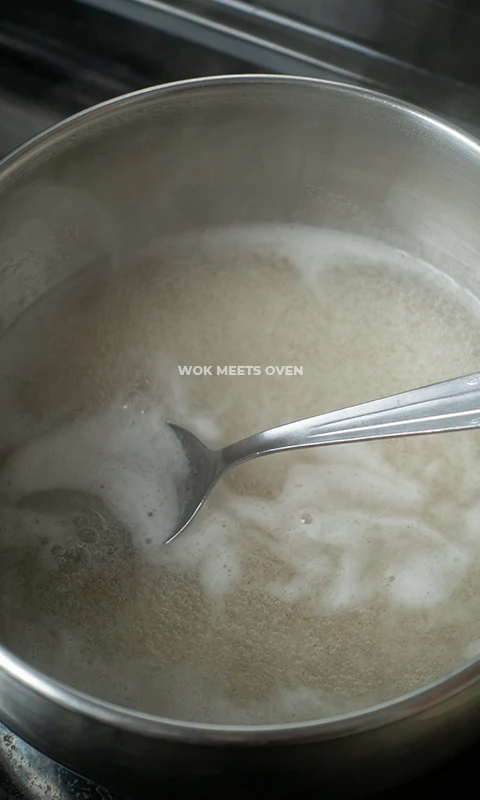
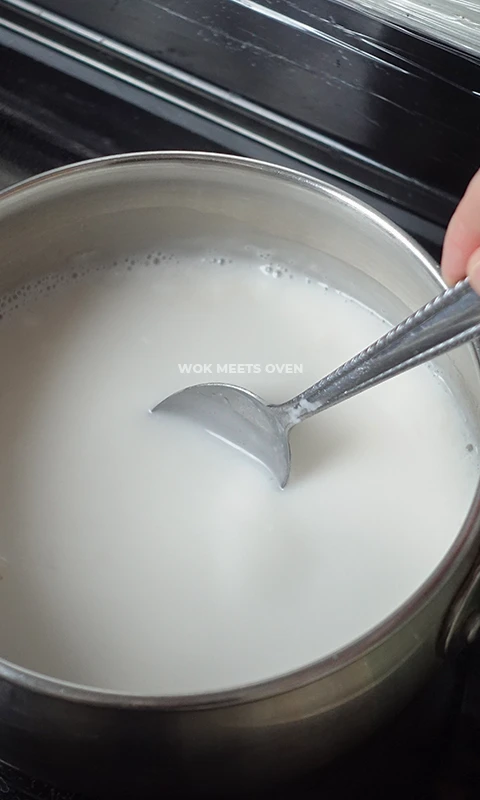
- Once it boils, turn the stove down to low and pour in your coconut milk onto the pot.

- Continue mixing the coconut pot and allow it to simmer over low to medium-low heat.
- Now scoop out and weigh 200ml of the Milo mixture and pour it into a container. I recommend using a thick glass container as a plastic container may end up melting due to the hot liquid.
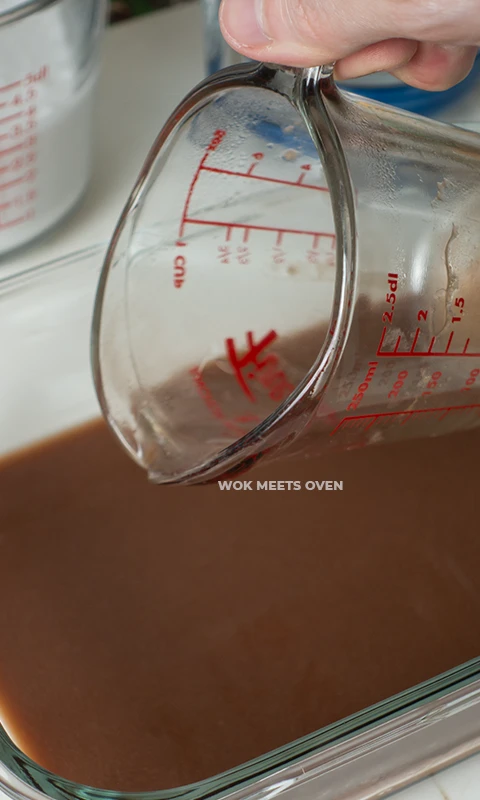
- You can pop out any bubbles that you see after pouring out the liquid if you’d like it to look smooth. Repeat this step for all layers.
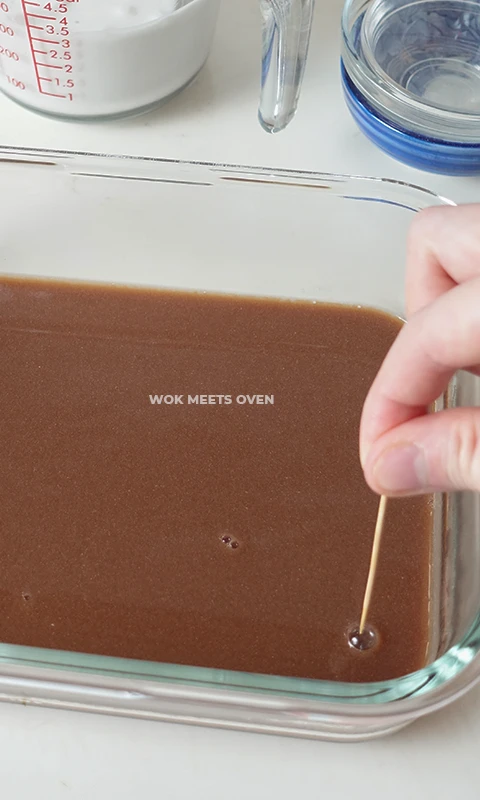
- Allow it to solidify and cool down (Approximately 5-10 minutes).
- Then scoop out 200ml of the coconut mixture and pour it on top of the Milo layer on the container. I recommend pouring the coconut layer very close to the Milo layer to prevent the Milo layer from sinking down.
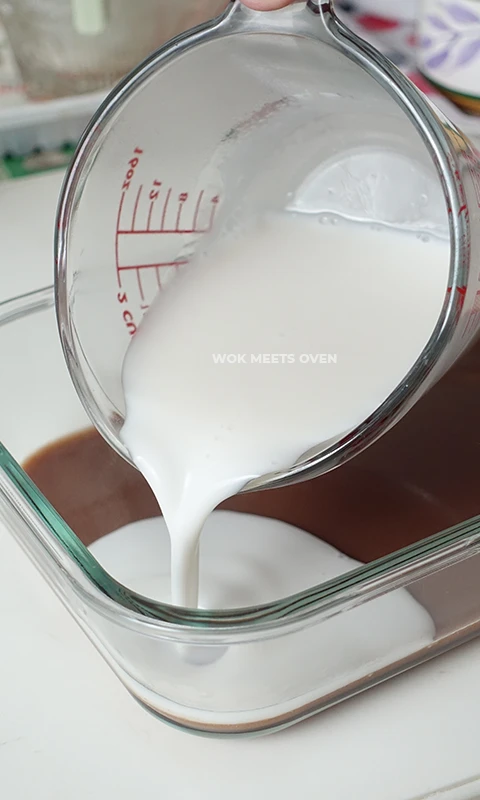
- Allow the coconut layer to solidify and cool down.
- Now repeat this process once again by pouring the Milo liquid on top of the coconut layer and vice versa.
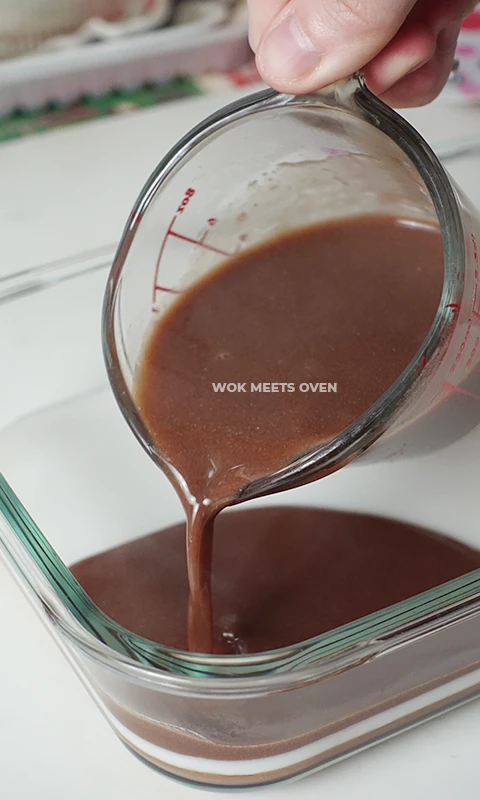
- Repeat this process until you have 6 layers (200ml each).
- There will still be a little extra liquid left. This was done on purpose as some of the liquid will have solidified on the sides and edges of the pots and the extra liquid acts as a buffer to ensure that you will have enough liquid to create 6 even layers. You can pour out the extra liquid onto another small container if you’d like or just discard it.
- For the last coconut layer, I recommend using a sieve to remove any impurities and bubbles when pouring it into the container. Also, use a toothpick and spoon to pop and scoop out any bubbles you see on the surface if you want to have a smooth surface.
- Once you have poured out the last layer, allow the jelly to solidify and cool down.
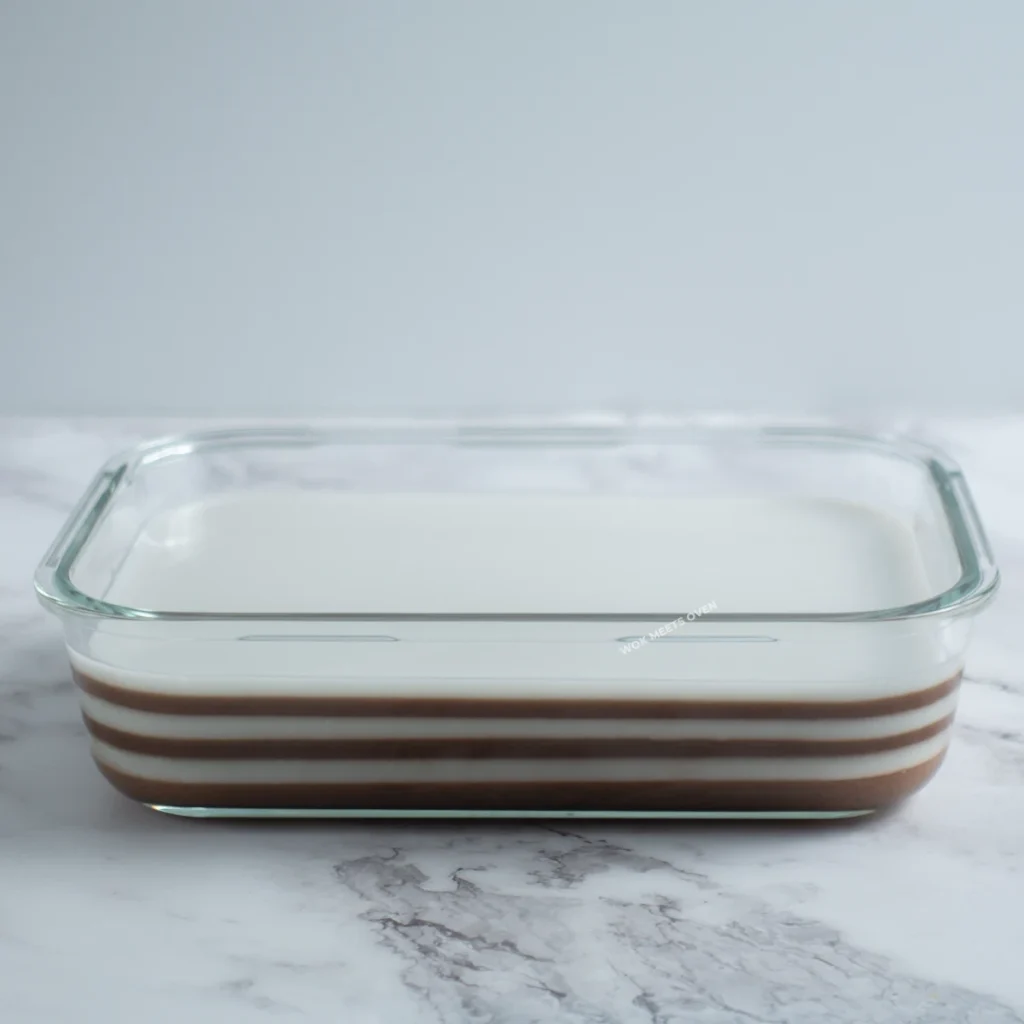
- Then put the container in the fridge and allow at least 4 hours for the jelly dessert to cool down and harden before serving the jelly but ideally overnight is best.
Tips
- Use a strainer when pouring out the agar-agar liquid. This helps to remove bubbles and impurities from the top of the layer.
- Use a toothpick and spoon to pop and scoop out any bubbles to make the top of the layer look smooth.
- Pour the liquid close to the previous layer to prevent it from sinking down.
- Allow the layer underneath to cool down and become somewhat firm before pouring in the next layer. You can check for firmness by using your finger and pressing down very lightly.
- Keep both the coconut and milo liquid in the pots warm while pouring out the layers. This will help prevent the liquid from solidifying in the pots.
Common Mistakes Beginners Make
- Not allowing each layer enough time to set before pouring in the next layer which causes the layer underneath to sink down.
- Pouring in the mixture too high onto the previous layer which causes the layer underneath to sink down.
- Not heating and keeping the liquid warm prior to pouring it out which causes the liquid to solidify quickly.
Storage Tips
The milo coconut pudding dessert can be stored in the fridge in an airtight container for up to 1 week. Technically I think it can be stored longer, however, I usually finish mine in a week or less.
Frequently Asked Questions (F.A.Q.S)
Why Did My Layer Underneath Sink Down?
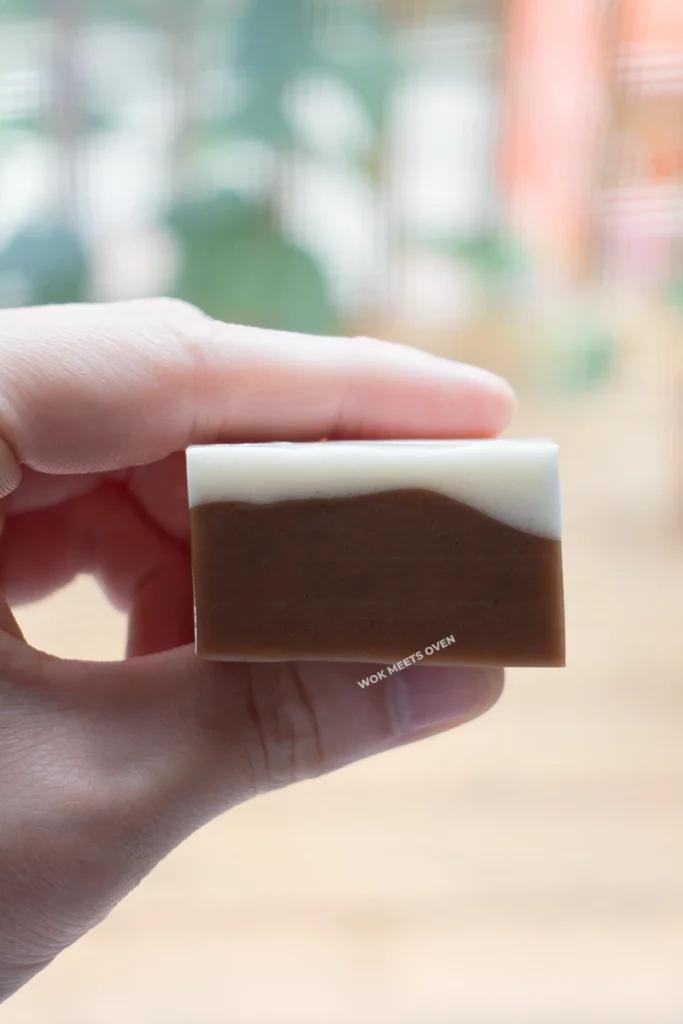
This is caused by 2 things:
- The layer underneath has not been given enough time to solidify yet and is still very fragile so when you pour the liquid on top, due to the weight of the new layer, it will cause the layer underneath to sink.
- You’re pouring the liquid too high onto the layer underneath, causing too much pressure and making it sink.
To remedy both of these issues, give each layer enough time to solidify and pour the next layer very close to the previous layer. You can gently tap the layer to check and see if it has hardened enough or not.
I have seen some people online claim that you should only allow the layer underneath to solidify slightly before pouring the next layer on by seeing if the layer slightly sticks to your finger otherwise if it becomes too hard, it will separate.
However, when I was testing this myself, I found that only having the top portion of the layer underneath slightly solidify was not enough to prevent it from sinking down. Instead, I suggest you give the layer enough time to become somewhat firm. I did not run across any issues with the layers underneath separating despite the layer underneath becoming somewhat firm prior to pouring the next layer on top.
Why Are My Layers Uneven?
If you want your layers to look even and nice, make sure that you use a kitchen scale to weigh out the liquid for each layer.
Why Is My Agar-Agar Liquid Solidifying So Quickly Before I Can Pour It Out?
The agar-agar liquid will start to solidify once it starts to cool down. Keep the agar-agar liquid heated on low to medium-low heat while pouring each layer out to prevent this from happening.
How Can I Make My Solidified Agar-Agar Liquid Again?
Just simply reheat the solidified agar-agar in a pot and it will slowly turn back into liquid form.
How Do I Make My Layers Look Nice?
To make your layers look nice, I recommend weighing the liquid prior to pouring it out to ensure each layer has equal portions and also to use a strainer when pouring the layers. This will help remove a lot of bubbles and impurities.
Milo Coconut Jelly
Equipment
- 2 Pots
Ingredients
Milo Layer
- 7 g Agar-agar powder
- 65 g White granulated sugar
- 80 g Milo powder
- 700 ml Water
Coconut Milk Layer
- 350 ml Water
- 350 ml Coconut milk
- 55 g White granulated sugar
- 7 g Agar-agar powder
- 1/8 tsp Table salt
Instructions
- Start by pouring the agar-agar powder and sugar onto a pot, followed by the water.
- Now using a whisk, mix the mixture evenly in the pot for about 30 seconds or so.
- Let it soak for about 10-15 minutes after whisking it with a whisk.
- In another pot repeat this process by pouring the agar-agar powder, sugar, and table salt, mixing it, and letting it soak in the water. You should have 2 pots in total. One is for the Milo layer and one is for the coconut layer.
- Now place the first pot on a stove, turn the stove on, and bring it to a boil. Then reduce the temperature to low and add in your Milo powder to the pot.
- Whisk the mixture to mix everything up and then let it simmer on low heat.
- Now place the second pot on a stove, turn on the stove, and bring the pot to a boil while whisking it.
- Once it boils, turn the stove down to low and pour in your coconut milk onto the pot.
- Continue mixing the coconut pot and allow it to simmer over low to medium-low heat.
- Now scoop out and weigh 200ml of the Milo mixture and pour it into a container. I recommend using a thick glass container as a plastic container may end up melting due to the hot liquid.
- You can pop out any bubbles that you see after pouring out the liquid if you'd like it to look smooth. Repeat this step for all layers.
- Allow it to solidify and cool down (Approximately 5-10 minutes).
- Then scoop out 200ml of the coconut mixture and pour it on top of the Milo layer on the container. I recommend pouring the coconut layer very close to the Milo layer to prevent the Milo layer from sinking down.
- Allow the coconut layer to solidify and cool down.
- Now repeat this process once again by pouring the Milo liquid on top of the coconut layer and vice versa.
- Repeat this process until you have 6 layers (200ml each).
- There will still be a little extra liquid left. This was done on purpose as some of the liquid will have solidified on the sides and edges of the pots and the extra liquid acts as a buffer to ensure that you will have enough liquid to create 6 even layers. You can pour out the extra liquid onto another small container if you’d like or just discard it.
- For the last coconut layer, I recommend using a sieve to remove any impurities and bubbles when pouring it into the container. Also, use a toothpick and spoon to pop and scoop out any bubbles you see on the surface if you want to have a smooth surface.
- Once you have poured out the last layer, allow the jelly to solidify and cool down.
- Then put the container in the fridge and allow at least 4 hours for the jelly dessert to cool down and harden before serving the jelly but ideally overnight is best.


