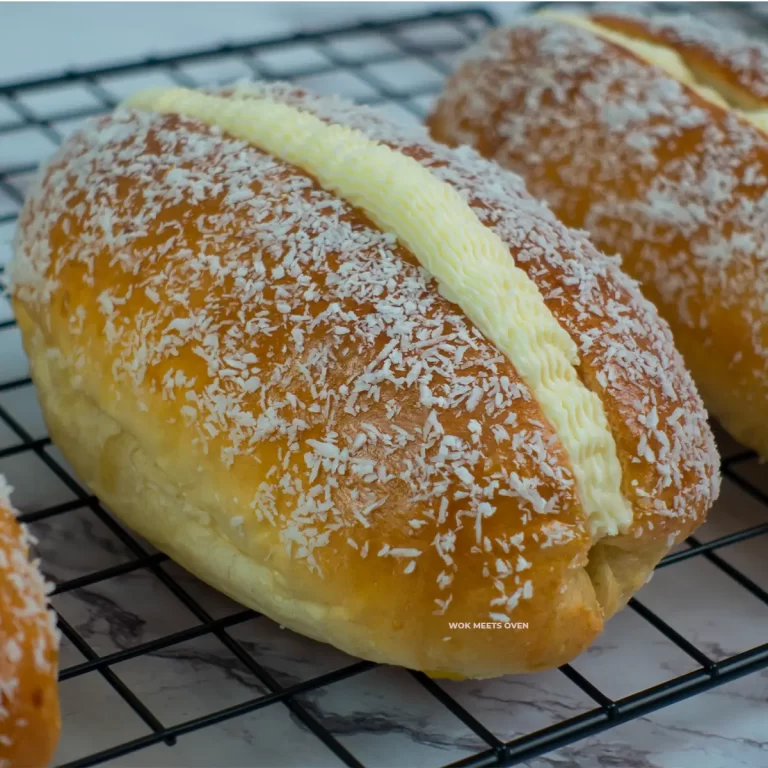
Japanese Shokupan Bread Recipe

Introduction
If you haven’t tried Japanese milk bread also known as Shokupan bread then you’ve been missing out.
Unlike western style sandwich breads, Japanese Shokupan bread is much more softer, sweeter, and fluffier.
You’ll typically see these loaf breads in a near perfect square light shape on the bakery shelves and if you happen to purchase a sandwich there, then you’ve most likely had some shokupan bread.
The bread also has a longer shelf life too, thanks to the introduction of either Yu-dane or Tangzhong, a special technique that is used in bread making in Asia, popularized in Japan (Yu-dane) and Taiwan (Tangzhong) by cookbook author Yvonne Chen.
Once you’ve tried a Shokupan bread loaf either from a Chinese, Japanese, or Taiwanese bakery, it’s very hard to go back to eating traditional sandwich bread that you find at grocery stores.
And thankfully, making Shokupan bread is a relatively easy process, that anyone can make at home and I’m going to show you how to do it today.
What is Tangzhong?
Tangzhong also known as a water roux is a popular Asian style technique of producing extra fluffy and airy bread by incorporating a liquid (usually either water or milk) with flour and cooking it until it develops into a thick gelatinous paste that is mixed in with your regular dough.
This allows the dough to absorb more liquid, therefore making the bread extra soft and fluffy while also extending its shelf life in the process.
Typically you’ll see either a 1:4 or 1:5 ratio of flour to liquid (water or milk) used in the Tangzhong method.
For this recipe, we’ll be incorporating the Tangzhong method to get that nice fluffy, airy texture that is the signature of Shokupan bread.
Short introduction to Yudane
The Yudane method is the Japanese counterpart to the Tangzhong (Taiwanese) method.
Like it’s cousin the Tangzhong, Yudane also involves mixing flour with a liquid a head of time, however there are some key differences between the two.
Instead of cooking the flour and liquid together, hot boiling water is used.
In addition, the ratio is different.
Yudane is typically seen with a 1 to 1 ratio of flour to liquid.
Regardless of which method you use, you can expect to bake some pretty fluffy and airy bread with an amazing texture unlike anything you’ve ever tasted before.
Ingredients

Tangzhong:
- 90 ml of water
- 18 g of bread flour

Dough
- 332 g of bread flour
- 32 g of white granulated sugar
- 6 g table salt
- 5 g instant yeast
- 208 ml of lukewarm milk
- 20 g of unsalted butter (room temperature)
Note: I will be using a 450gram Shokupan bread loaf pan with lid here to get that perfect square shape of the Shokupan bread.

Directions
To get started, we will create our Tangzhong first.
In a small sauce pan, add in your flour and water. Heat the mixture over a stove on low heat, stirring constantly to prevent the mixture from burning and and clumping up.
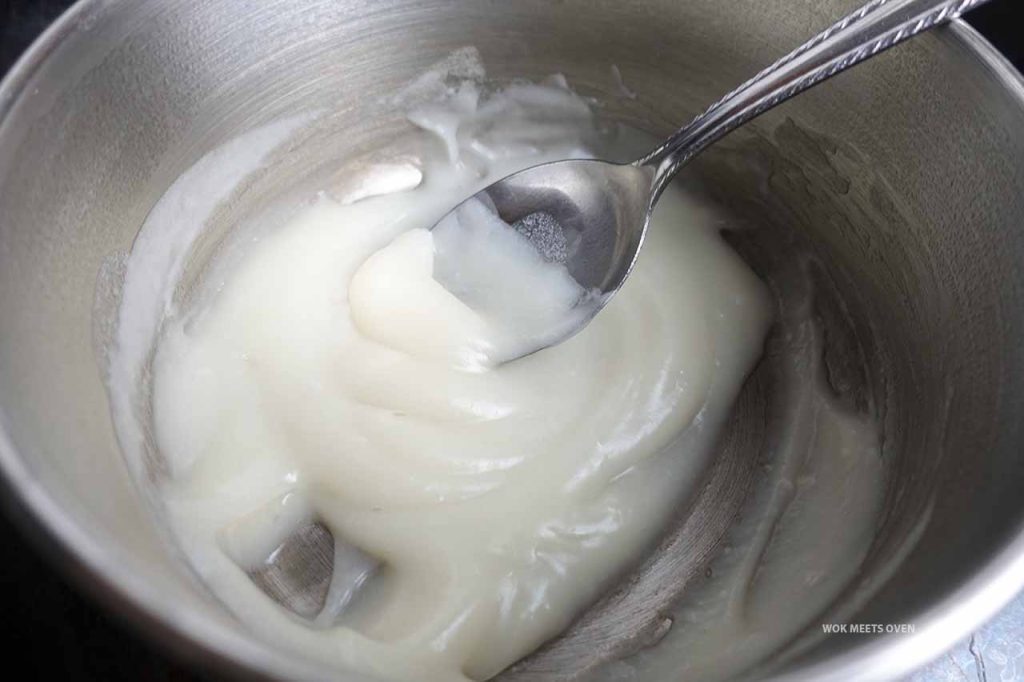
Once the Tangzhong turns into a thick viscous like paste, remove it from the stove and transfer it to a small bowl or dish.

Cover it with plastic wrap and let it cool down in the fridge.
Tip: You can make the Tangzhong over night and then use it the next day when you are mixing the dough to save time.
After the Tangzhong has cooled down, you can start making your dough.
In a large mixing bowl, add in your flour, sugar, salt, and yeast. Give it a quick few whisks in the stand mixer then add in your Tangzhong from earlier and milk and continue mixing in the stand mixer.


After about 3-4 minutes, add in your room temperature butter and continue kneading the dough for an additional 10-11 minutes.
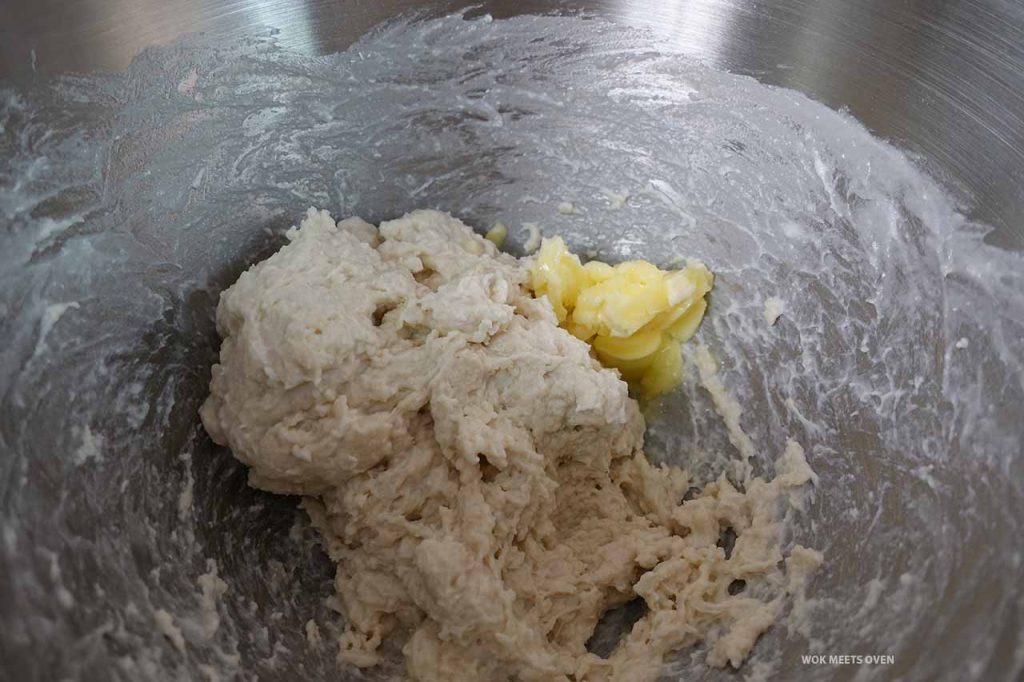
Once the dough has finished kneading, transfer it to a greased large bowl.

Shape it into a round ball and then cover it with plastic wrap or a towel.

Let it proof in a warm environment for about 1 hour until double in size.

Once the dough has finished proofing, transfer it to slightly floured countertop and shape it into a ball.
If you find the dough very sticky to handle, you can dust your hands with a bit of flour.
Then divide the dough into 2 pieces.

Shape each piece into a round ball.
Cover it with plastic wrap or a towel and let it rest for 10 minutes to relax the dough.


After ten minutes, flatten out each piece of the dough and roll it out.


Then grab one end of the dough and fold it about 2/3 of the way towards the opposite side and then wrap the opposite side of the dough and fold it over the rest of the dough so that the dough resembles a long rectangle.


Next, grab one end of the dough and start rolling it all the way to the other end of the dough to form a roll.


Pinch the ends of the dough to seal it.


Repeat these steps for the other piece of dough.

Now grease your bread loaf pan with either oil or some butter and then place each piece of the dough inside of the bread loaf pan with the ends of the dough that look like a spiral pointed perpendicular to the sides of the bread loaf pan.

Cover the bread loaf pan with plastic wrap or a towel and let it rise one final time in a warm place until the dough is approximately 1cm below the top of the bread loaf pan.


Now would also be a good time to preheat your oven.
Preheat your oven at 400°F (200° C).
Once the dough is about 1 cm below the top of the bread loaf pan, slide in the bread loaf lid to cover the loaf pan and bake the bread for about 35-40 minutes at 400°F (200° C) or until the bread is golden brown at the top.


Tips
It is highly recommended to use a stand mixer as the dough is very sticky and difficult to handle if hand kneading the dough.
Also make sure to flour your hands, working surface and rolling pin when handling the dough.
Remove the bread immediately after baking from the pan and place on a wire rack to cool down otherwise condensation will start to build up in the loaf pan making your bread soggy and wet.
FAQs
Why is my dough not rising?
There could be a number of reasons why your dough isn’t rising such as the following:
Your yeast is dead
Solution: Test out your yeast prior to proofing. Add in a small amount of yeast to a warm bowl or cup of water along with about 1 tsp of sugar and mix everything together. Wait about 10 minutes and see if foam and bubbles start to form at the top of the water along with a strong yeast type of smell. If you can see this then your yeast is still good. If not then unfortunately you will need to replace your yeast.
Your environment is too cold
In order for yeast to thrive and activate properly it needs to be in a warm enough environment. How warm you ask?
King Arthur Baking has suggested a temperature between 75°-78°F (24°-26°C).
While Harold McGee suggests in their book “On Food and Cooking” that the ideal temperature range is 85°F (29°C).
Based on my own personal experience I tend to get the best results somewhere between 80-90°F(27°-32°C).
So ideally you’d be looking at a range somewhere between 75°-90°F (24°-32°C)
Your water was too hot
Believe it or not, but mixing yeast with water that is too hot can actually kill off the yeast.
Never use piping hot water with yeast as it will kill the yeast, instead use warm or lukewarm water.
Salt interfered with your fermentation process
Salt due to it’s nature can inhibit and interfere with yeast activity limiting it’s growth. It’s best not to leave the yeast with salt combined for too long.
Can I use dry active yeast instead of instant yeast?
Yes, provided that you activate the dry active yeast first prior to mixing it with instant yeast.
Can I use all-purpose-flour instead of bread flour?
You can substitute bread flour with all-purpose flour, however due note that due to the lower protein content found in all-purpose flour, the texture of your bread will be different and not produce the same level of structure and chew compared to bread flour. In addition, based on my own experience, the bread tends to not rise as much compared to using bread flour which may be attributed to the lower protein content found in all-purpose flour.
I’m lactose intolerant, can I substitute cow’s milk with another milk?
Yes, you can, however please be aware that different milk’s have different fat levels to them and this will affect the texture of the bread.
Can I hand knead the dough?
Yes you can! However, I don’t recommend that you do, as the dough is very sticky and difficult to handle.
If you do decide to hand knead the dough however, be prepared to spend a bit more time kneading the dough and also make sure not to add too much flour or any at all as this will affect the hydration level of the dough.

Shokupan Japanese Milk Bread
Equipment
- 1 stand mixer
- 1 450 g bread loaf pan with lid
Ingredients
Tangzhong
- 90 ml water
- 18 grams bread flour
Dough
- 332 grams bread flour
- 32 grams white granulated sugar
- 6 grams table salt
- 5 grams instant yeast
- 208 ml milk lukewarm
- 20 grams unsalted butter
Instructions
- To get started, we will create our Tangzhong first.
- In a small sauce pan, add in your flour and water. Heat the mixture over a stove on low heat, stirring constantly to prevent the mixture from burning and and clumping up.
- Once the Tangzhong turns into a thick viscous like paste, remove it from the stove and transfer it to a small bowl or dish.
- Cover it with plastic wrap and let it cool down in the fridge.
- After the Tangzhong has cooled down, you can start making your dough.
- In a large mixing bowl, add in your flour, sugar, salt, and yeast. Give it a quick few whisks in the stand mixer then add in your Tangzhong from earlier and milk and continue mixing in the stand mixer.
- After about 3-4 minutes, add in your room temperature butter and continue kneading the dough for an additional 10-11 minutes.
- Once the dough has finished kneading, transfer it to a greased large bowl.
- Shape it into a round ball and then cover it with plastic wrap or a towel.
- Let it proof in a warm environment for about 1 hour until double in size.
- Once the dough has finished proofing, transfer it to slightly floured countertop and shape it into a ball.
- If you find the dough very sticky to handle, you can dust your hands with a bit of flour.
- Then divide the dough into 2 pieces.
- Shape each piece into a round ball.
- Cover it with plastic wrap or a towel and let it rest for 10 minutes to relax the dough.
- After ten minutes, flatten out each piece of the dough and roll it out.
- Then grab one end of the dough and fold it about 2/3 of the way towards the opposite side and then wrap the opposite side of the dough and fold it over the rest of the dough so that the dough resembles a long rectangle.
- Next, grab one end of the dough and start rolling it all the way to the other end of the dough to form a roll.
- Pinch the ends of the dough to seal it.
- Repeat these steps for the other piece of dough.
- Now grease your bread loaf pan with either oil or some butter and then place each piece of the dough inside of the bread loaf pan with the ends of the dough that look like a spiral pointed perpendicular to the sides of the bread loaf pan.
- Cover the bread loaf pan with plastic wrap or a towel and let it rise one final time in a warm place until the dough is approximately 1cm below the top of the bread loaf pan.
- Now would also be a good time to preheat your oven.
- Preheat your oven at 400°F (200° C).
- Once the dough is about 1 cm below the top of the bread loaf pan, slide in the bread loaf lid to cover the loaf pan and bake the bread for about 35-40 minutes at 400°F (200° C) or until the bread is golden brown at the top.


