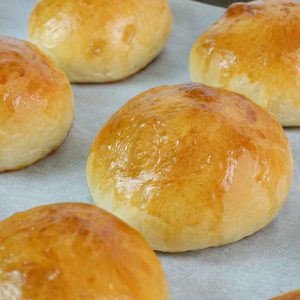
Japanese Milk Bread Dinner Rolls Recipe
These Japanese milk bread dinner rolls are soft, airy, but most importantly, absolutely delicious!!! Using the Tangzhong method shown in this recipe, you’ll end up with incredibly pillowy milk bread dinner rolls that will keep well for days to come.
Introduction
There’s dinner rolls and then there’s Japanese milk bread dinner rolls.
If you’ve ever taken a bite out of a Japanese milk bread dinner roll then you’ll immediately notice the difference.
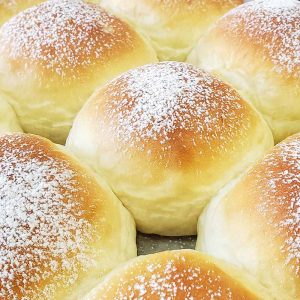
Japanese milk bread dinner rolls (aka Hokkaido dinner rolls / milk bread dinner rolls) have built themselves up a reputation for being extremely soft and fluffy compared to your traditional dinner rolls.
In addition, there’s a bit of sweetness that you don’t typically see in western style dinner rolls which tend to err on the salty side.
Another benefit of milk bread dinner rolls is they keep well. These dinner rolls will last much longer compared to your store bought buns and will remain soft much longer as well.
And while the task of making these buns may seem daunting, I assure you that it’s a lot easier then you think.
I’m sure once you’ve tried my Japanese milk bread dinner roll recipe you’ll have trouble returning back to eating traditional store bought dinner rolls.
Here’s what you’ll need to make these incredibly soft dinner rolls.
Ingredients
Tangzhong:
- 100 ml of milk
- 20g of bread flour
Dough:
- 335g Bread flour
- 40g white Sugar
- 6g Salt
- 35g unsalted butter (room temperature)
- 5g Instant yeast
- 6g Milk powder
- Cornstarch for sprinkling on top of the bun. (Can substitute with tapioca starch as well.)
- 145ml milk (lukewarm)
- ½ Tbsp of evaporated milk
- 1 egg (room temperature)
Directions
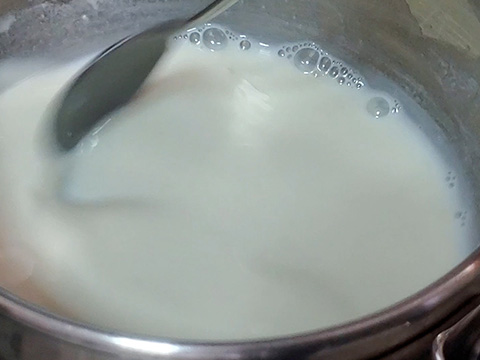
We’ll start by making our Tangzhong, which is a liquid roux by combining our bread flour and milk in a small sauce pan.
Cook this mixture over a stove on low heat, stirring constantly to prevent the Tangzhong from clumping up.
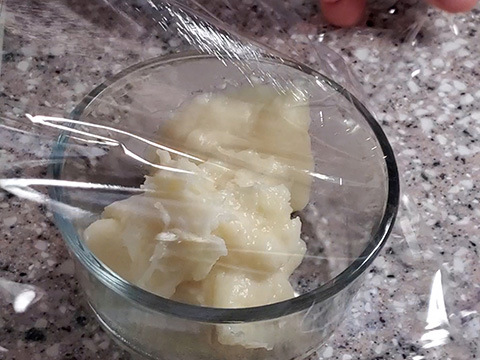
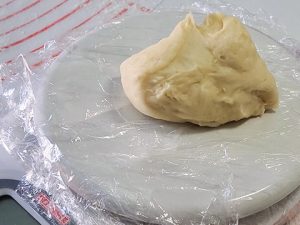
Once you’ve achieved a thick paste-like consistency, remove the Tangzhong from the stove and transfer to a small bowl or dish.
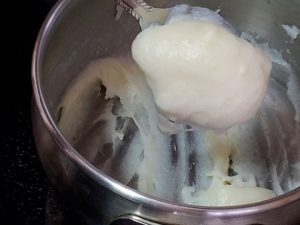
Cover it with plastic wrap, making sure to press down on the plastic wrap so that it touches our Tangzhong to prevent drying and then store it in the fridge for at least 20 minutes before use. You can also make this ahead of time the night before and store it in the fridge.

Next, we’re going to make our dough.
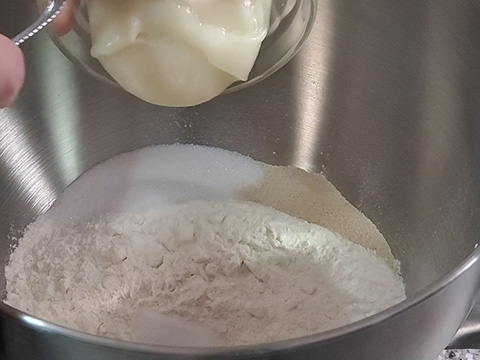
In a large mixing bowl, combine your flour, sugar, salt, instant yeast, milk powder, 1 egg, evaporated milk, and the Tangzhong that we made earlier.
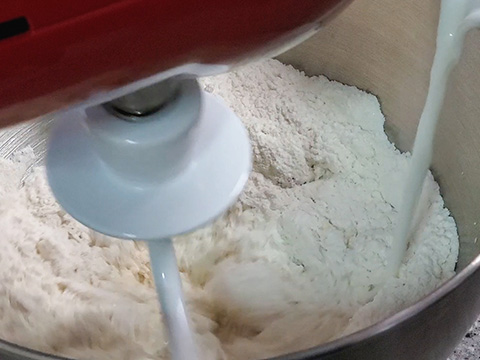
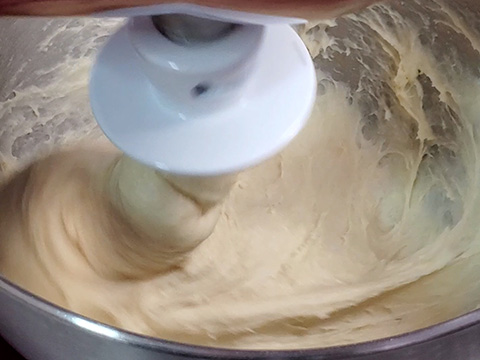
Place the bowl into a stand mixer, turn the machine on, and then slowly add in your milk.
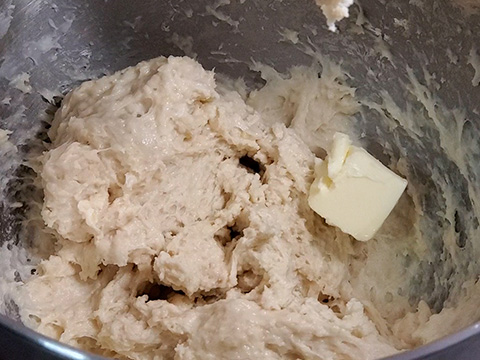
After about 3-4 minutes, add in your room temperature butter to the dough as well and continue mixing for another 9-10 minutes until the dough becomes smooth.
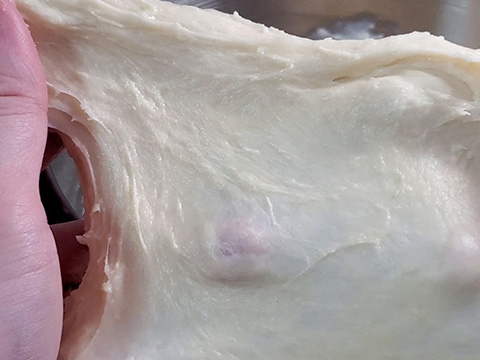
To check and see when your dough has been sufficiently kneaded, take a piece of the dough and slowly stretch it out until light can pass through it and it becomes somewhat translucent.
If the dough doesn’t tear while you’re doing this, then it has been sufficiently kneaded, otherwise you will need to continue mixing it for a few more minutes.
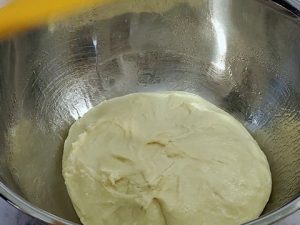
Now grease a large bowl and transfer the dough over to the bowl. Then shape it into a round ball using either a spatula or your hands.
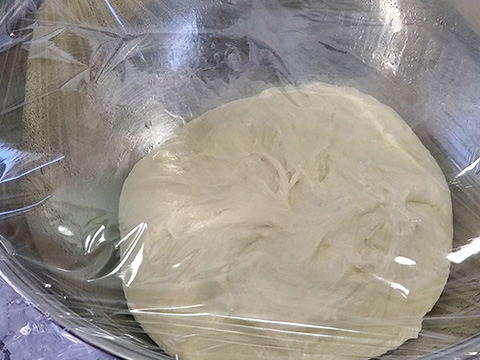
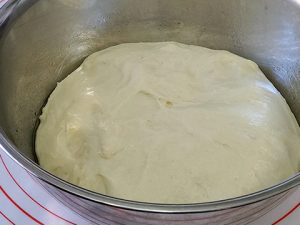
Cover the bowl with plastic wrap or a towel and let it proof in a warm place until double in size. It takes about an hour or so.
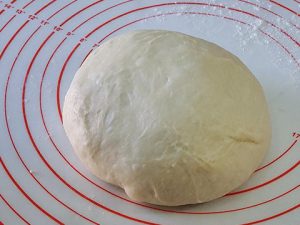
Once the dough has done proofing, de-gase the dough by pressing down on it and then transfer it to a floured countertop.
Now shape the dough into a round ball, then weigh the dough.
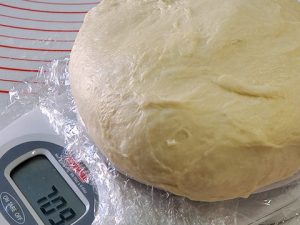
Next, divide the dough into 12 pieces then weigh out each piece so that you get equal portion sizes.
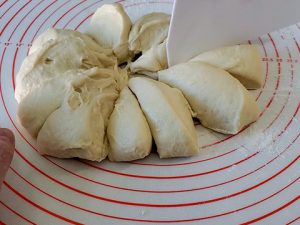
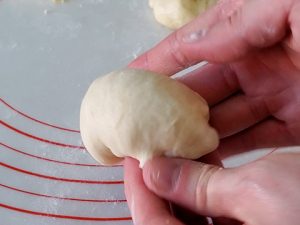
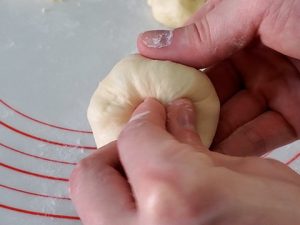
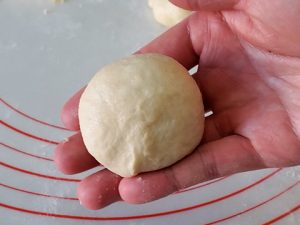
After weighing out each piece of the dough, shape each piece into a round ball, by pushing the outer edges of the dough in a downwards motion towards the center with one hand while pinching the bottom and rotating the dough with the other hand.
Once the dough starts to resemble a ball, flip it over and pinch the ends of the dough to seal it.
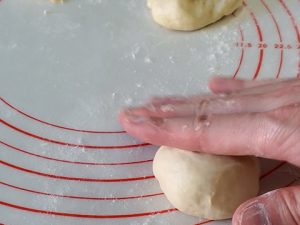
Next place the dough on your countertop and roll it out using the palms of your hand until it has turned into a ball.
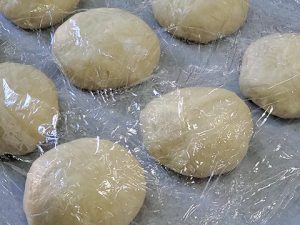
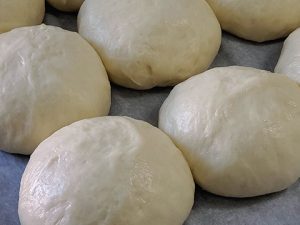
Now place each piece onto a baking tray lined with parchment paper, cover the dough with plastic wrap or a towel to prevent it from drying and let it rise 1 final time in a warm place for about 40-45 minutes until double in size.
You may want to preheat your oven at this point. Preheat your oven to 350°F (180°C).
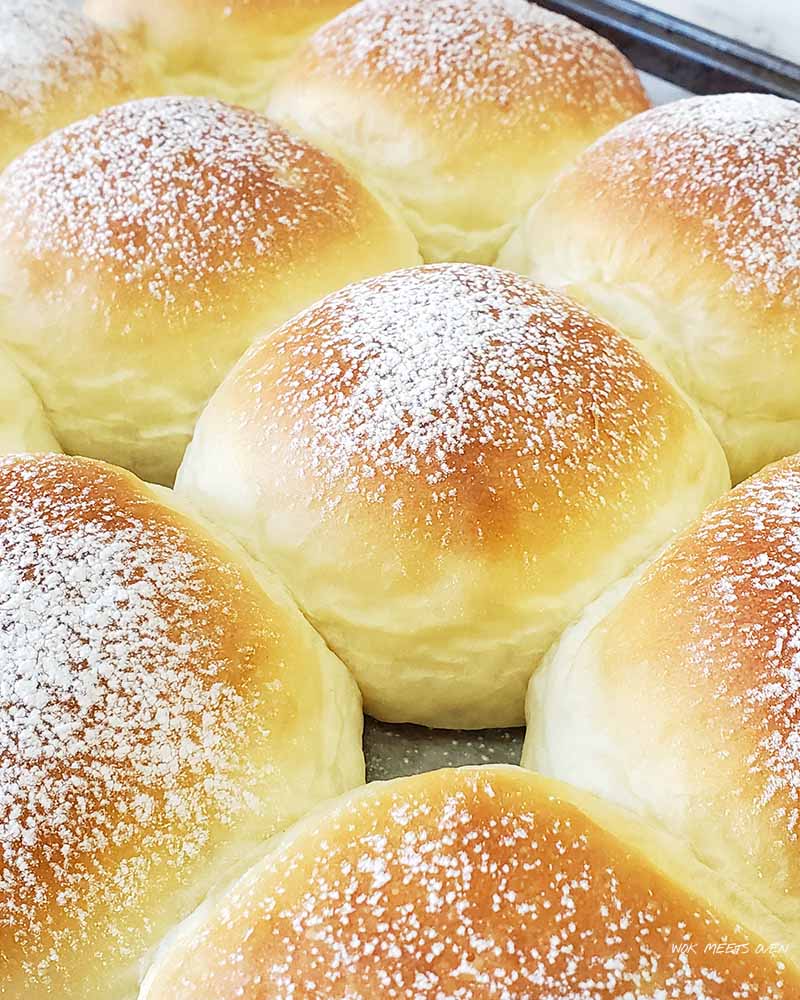
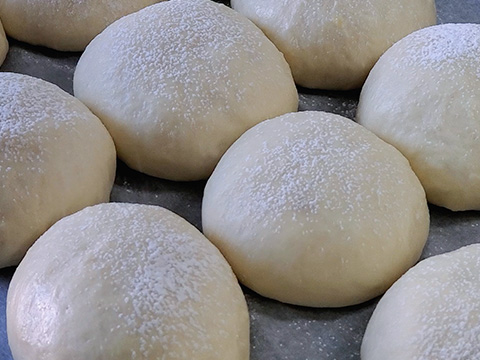
Once the buns have finished proofing, sprinkle some cornstarch on top of the buns and bake them at 350°F (180°C) for about 18 minutes on the second lowest rack on your oven. Cover the buns with aluminum foil during the last 6-7 minutes of baking to prevent the top from browning too much.
Notes:
This is a very sticky dough and therefore it is recommended that you use a stand mixer to knead the dough.
I’m using the number 2 on my stand mixer.
You can pin this image

Japanese Milk Bread Dinner Rolls
Ingredients
Tangzhong
- 100 ml milk
- 20 grams bread flour
Dough
- 335 grams bread flour
- 40 grams white granulated sugar
- 6 grams table salt
- 35 grams unsalted butter (room temperature)
- 5 grams instant yeast
- 6 grams milk powder
- 145 ml milk (lukewarm)
- 1/2 Tbsp evaporated milk
- 1 egg (room temperature)
- cornstarch for sprinkling on top of the bun
Instructions
- We’ll start by making our Tangzhong, which is a liquid roux by combining our bread flour and milk in a small sauce pan.
- Cook this mixture over a stove on low heat, stirrying constantly to prevent the Tangzhong from clumping up.
- Once you’ve achieved a thick paste-like consistency, remove the Tangzhong from the stove and transfer to a small bowl or dish.
- Cover it with plastic wrap, making sure to press down on the plastic wrap so that it touches our Tangzhong to prevent drying and then store it in the fridge for at least 20 minutes before use. You can also make this ahead of time the night before and store it in the fridge.
- Next, we’re going to make our dough.
- In a large mixing bowl, combine your flour, sugar, salt, instant yeast, milk powder, 1 egg, evaporated milk, and the Tangzhong that we made earlier.
- Place the bowl into a stand mixer, turn the machine on, and then slowly add in your milk.
- After about 3-4 minutes, add in your room temperature butter to the dough as well and continue mixing for another 9-10 minutes until the dough becomes smooth.
- To check and see when your dough has been sufficiently kneaded, take a piece of the dough and slowly stretch it out until light can pass through it and it becomes somewhat translucent.
- If the dough doesn’t tear while you’re doing this, then it has been sufficiently kneaded, otherwise you will need to continue mixing it for a few more minutes.
- Now grease a large bowl and transfer the dough over to the bowl. Then shape it into a round ball using either a spatula or your hands.
- Cover the bowl with plastic wrap or a towel and let it proof in a warm place until double in size. It takes about an hour or so.
- Once the dough has done proofing, de-gase the dough by pressing down on it and then transfer it to a floured countertop.
- Now shape the dough into a round ball, then weigh the dough.
- Next, divide the dough into 12 pieces then weigh out each piece so that you get equal portion sizes.
- After weighing out each piece of the dough, shape each piece into a round ball, by pushing the outer edges of the dough in a downwards motion towards the center with one hand while pinching the bottom and rotating the dough with the other hand.
- Once the dough starts to resemble a ball, flip it over and pinch the ends of the dough to seal it.
- Next place the dough on your countertop and roll it out using the palms of your hand until it has turned into a ball.
- Now place each piece onto a baking tray lined with parchment paper, cover the dough with plastic wrap or a towel to prevent it from drying and let it rise 1 final time in a warm place for about 40-45 minutes until double in size.
- You may want to preheat your oven at this point. Preheat your oven to 350°F (180°C).
- Once the buns have finished proofing, sprinkle some cornstarch on top of the buns and bake them at 350°F (180°C) for about 18 minutes on the second lowest rack on your oven. Cover the buns with aluminum foil during the last 6-7 minutes of baking to prevent the top from browning too much.